It’s been more than a year since our last update – actually, that’s only partially true. Regardless, we’ve got a lot of catching up to do.
B&G didn’t post updates as often as we would have liked in 2023. Life is busy, and priorities shift. To make matters worse, we lost all of our website posts at some point last year. We’ve managed to restore everything prior to January 2023, but it seems that a couple of later posts have been lost forever.
Below, we’ll attempt to revisit what was lost and provide updates on never-posted topics.
Water Main Failure
A flooded parking lot. Observe the water bubbling up from the cracks.
In early April, a water main failure under the parking lot kicked off our pool opening with an unforeseen challenge. Sometime after turning on the water gate valve, we received a voicemail from Livonia DPW; they turned off our water due to a reported leak. Further investigation revealed that we had a significant problem on our hands.
We contacted the city to assist with marking the approximate location of the pipe. Once Miss Dig completed the utility markings, we hired an asphalt cutter and dug up a small portion of the lot.
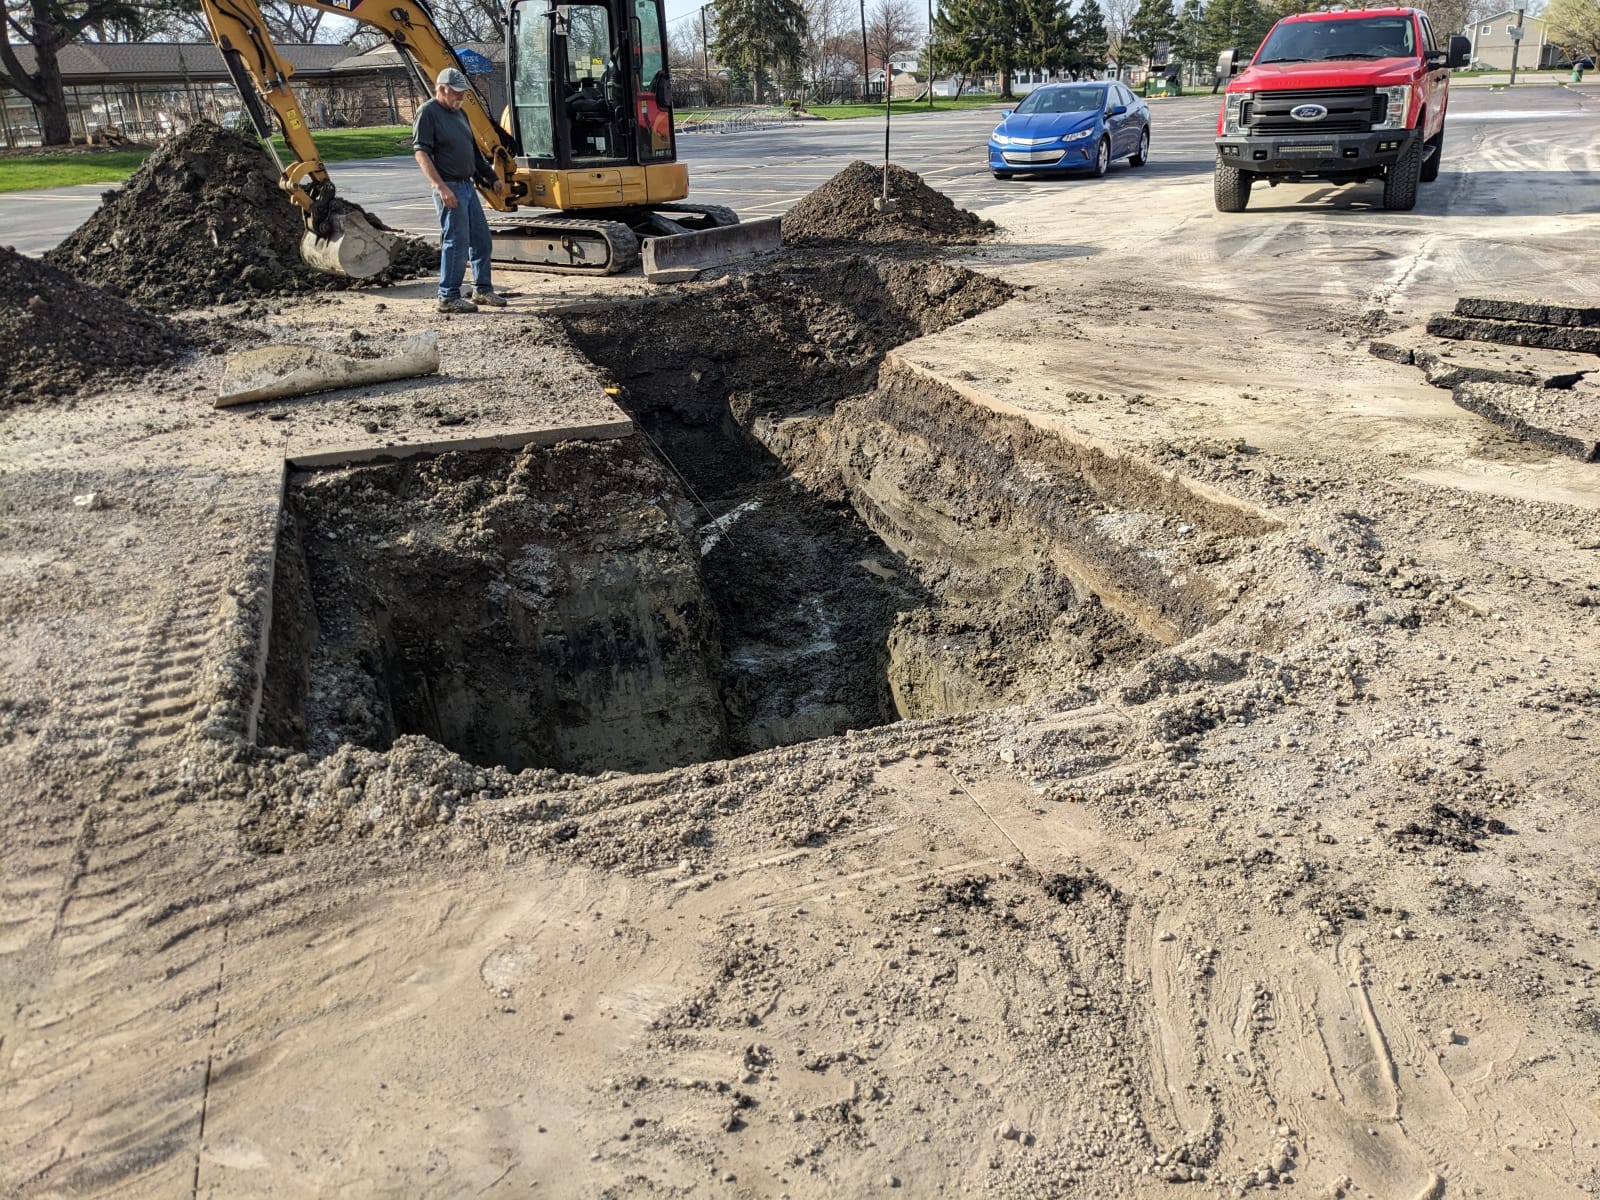
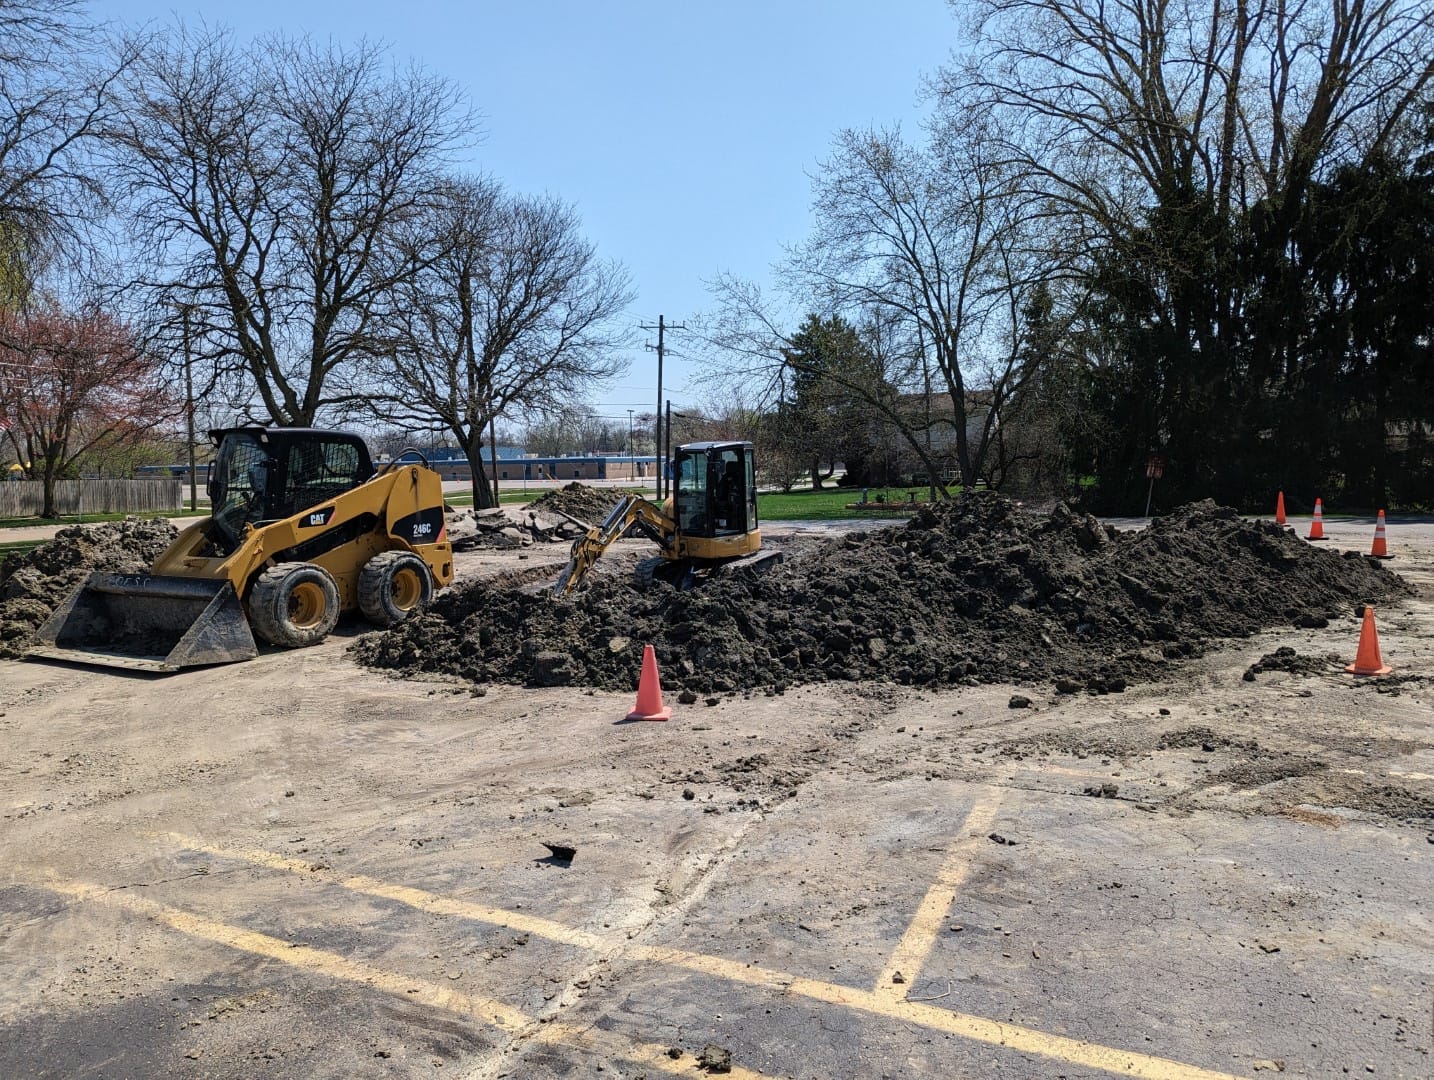
From there, the project didn’t go exactly as planned. The pipe we expected to be 5 feet deep was closer to 14 feet deep. The city’s markings (perhaps skewed by the depth of the pipe) were nearly 20 feet off. As a result, far more of the parking lot was removed, and a far bigger mess was made.
Eventually, we were able to locate and repair the pipe. The water was turned on, and the hole backfilled. Due to the exceptional depth of the hole, extra time to allow for settling (before the parking lot could be resurfaced) was required.
We fully expect the lot to be repaired this spring (2024) well in advance of opening day.
We hired a concrete cutting contractor to cut out a neat area in the lot – hopefully allowing us to drop back in portions of the asphalt. Unfortunately, the job quickly turned into an extensive search, as the water main was nowhere near the markings provided to us – and as we found out later – it was about three times as deep as expected.
We hired a concrete cutting contractor to cut out a neat area in the lot – hopefully allowing us to drop back in portions of the asphalt. Unfortunately, the job quickly turned into an extensive search, as the water main was nowhere near the markings provided to us – and as we found out later – it was about three times as deep as expected.
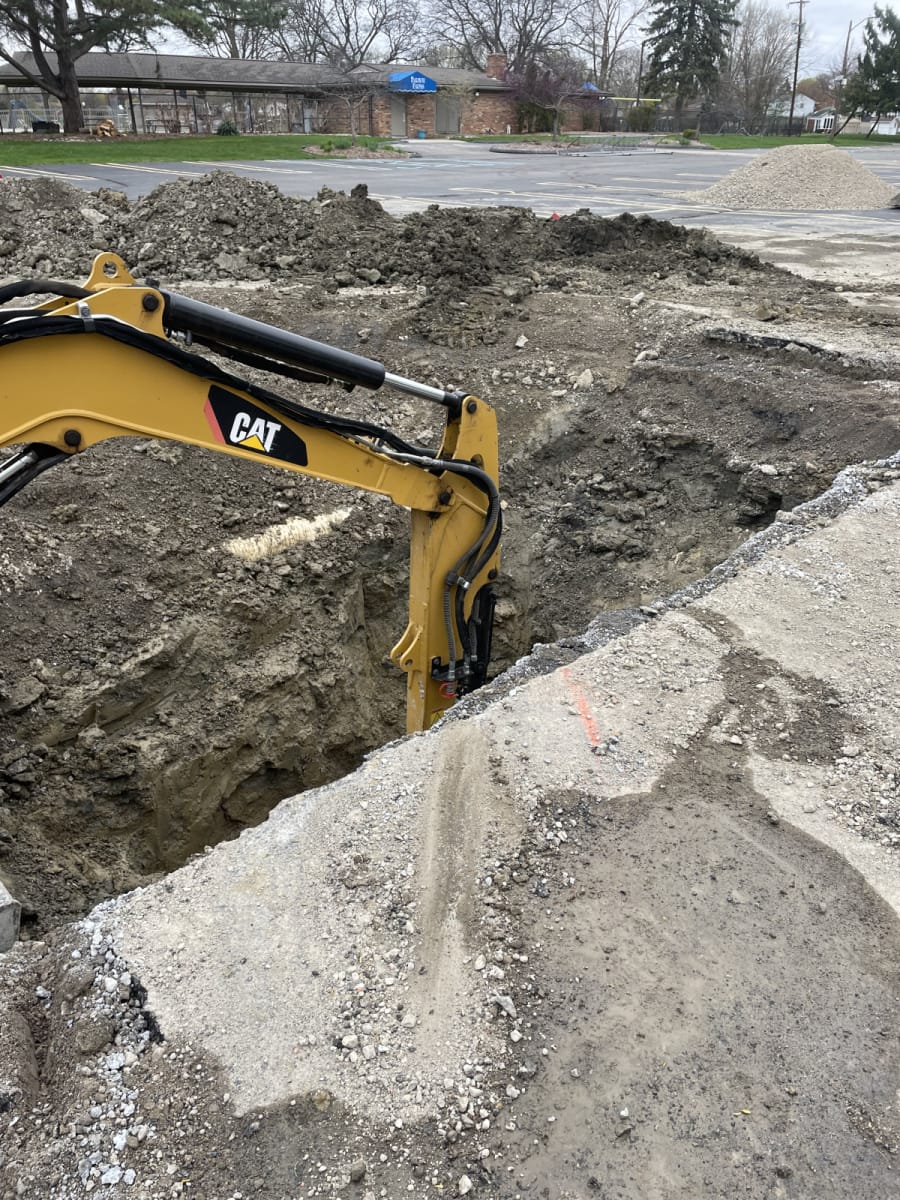
A view of the hole after the first day of digging. Still no sign of the water main.
A view of the hole after the first day of digging. Still no sign of the water main.
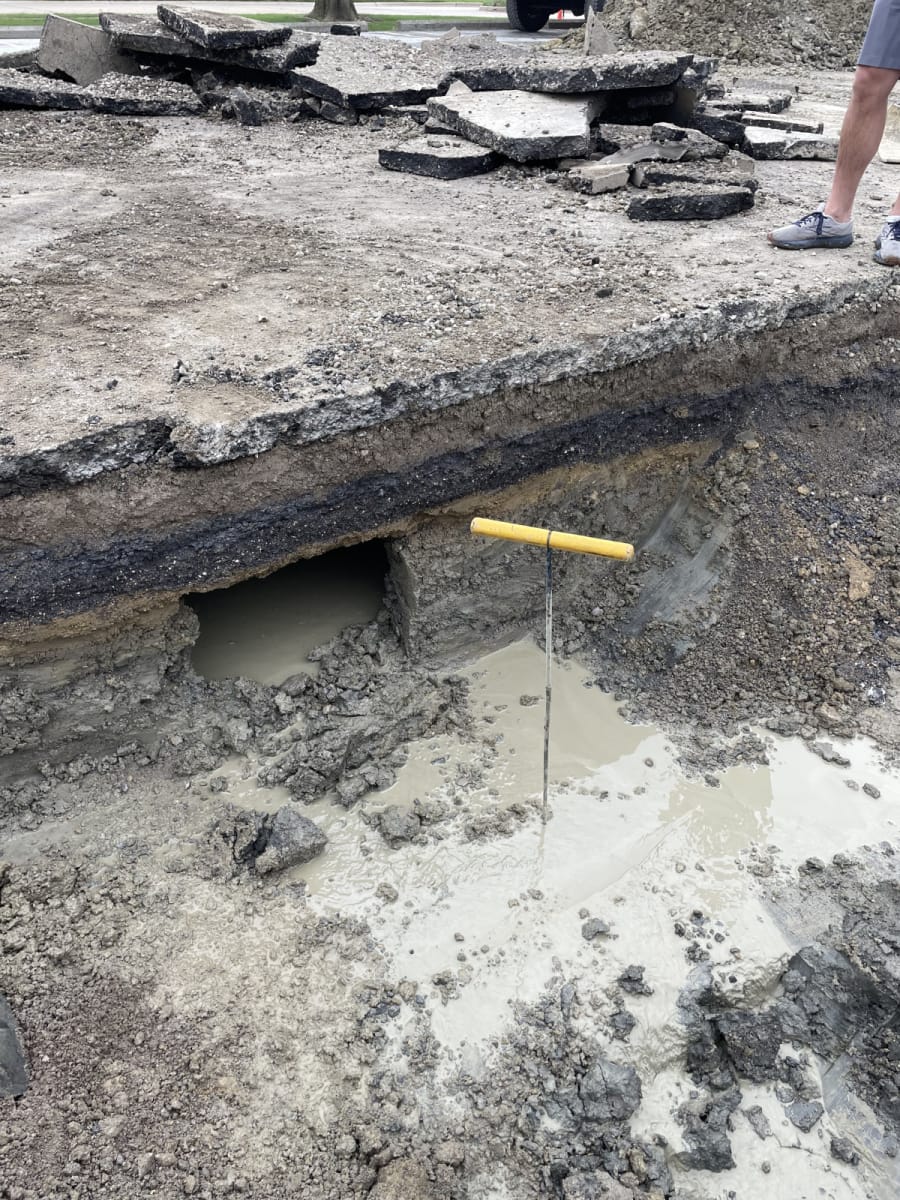
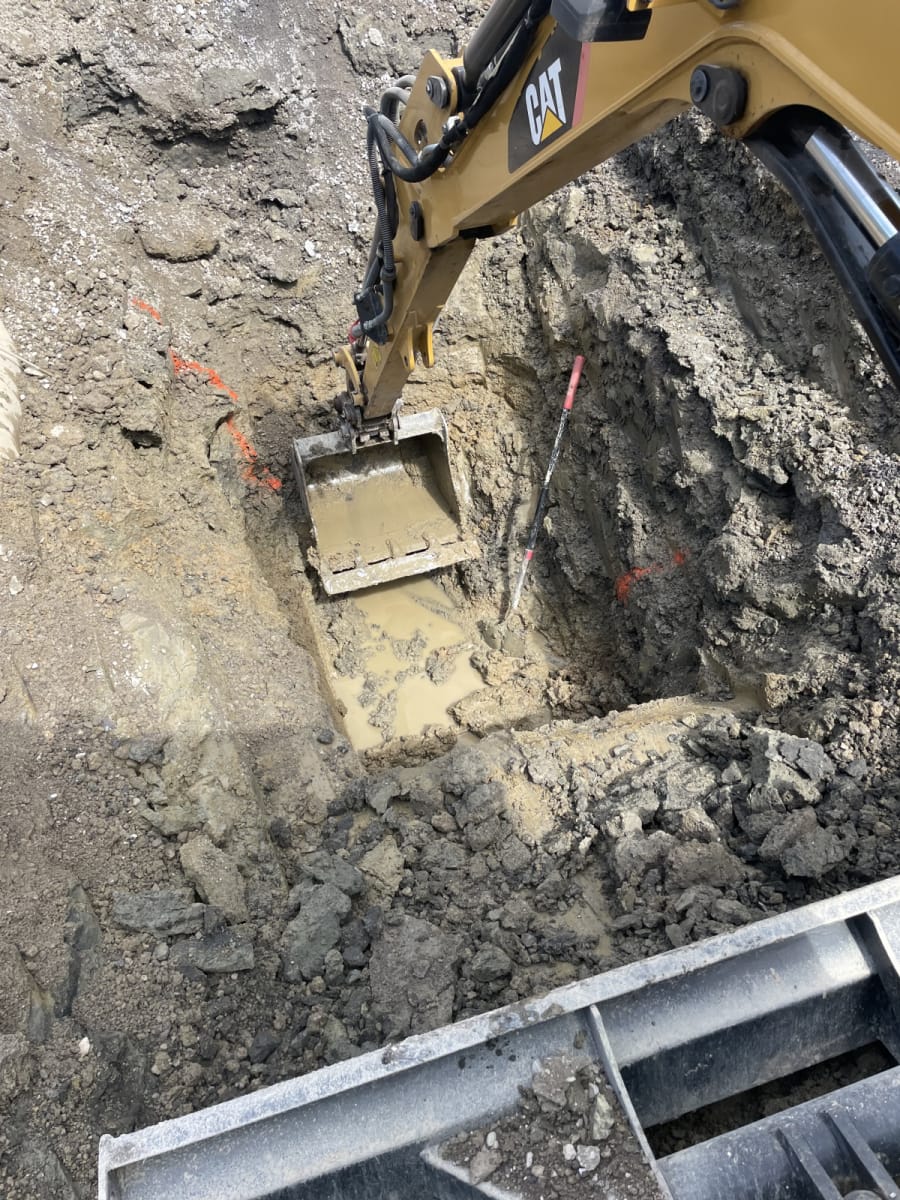
We found a cave under the parking lot – clearly the leak has been here for some time. There’s enough room in there to climb in (which would not have been safe to do, of course).
We found a cave under the parking lot – clearly the leak has been here for some time. There’s enough room in there to climb in (which would not have been safe to do, of course).
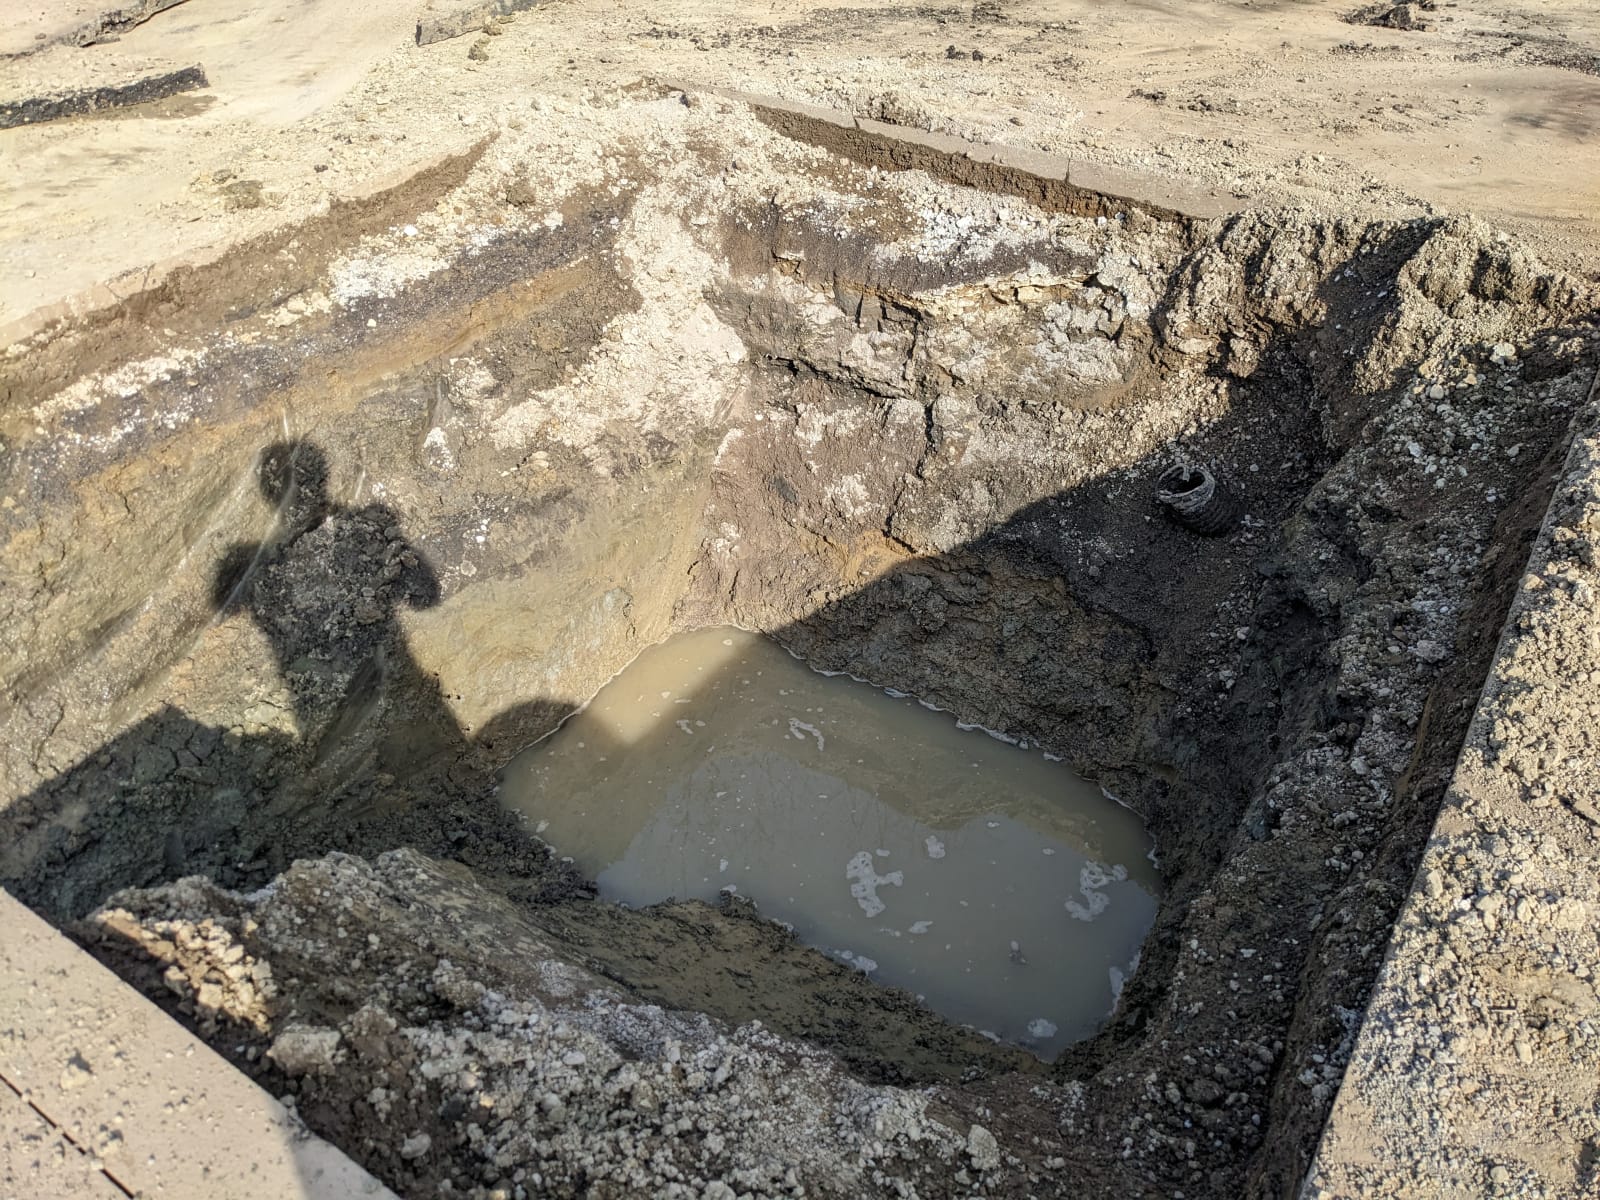
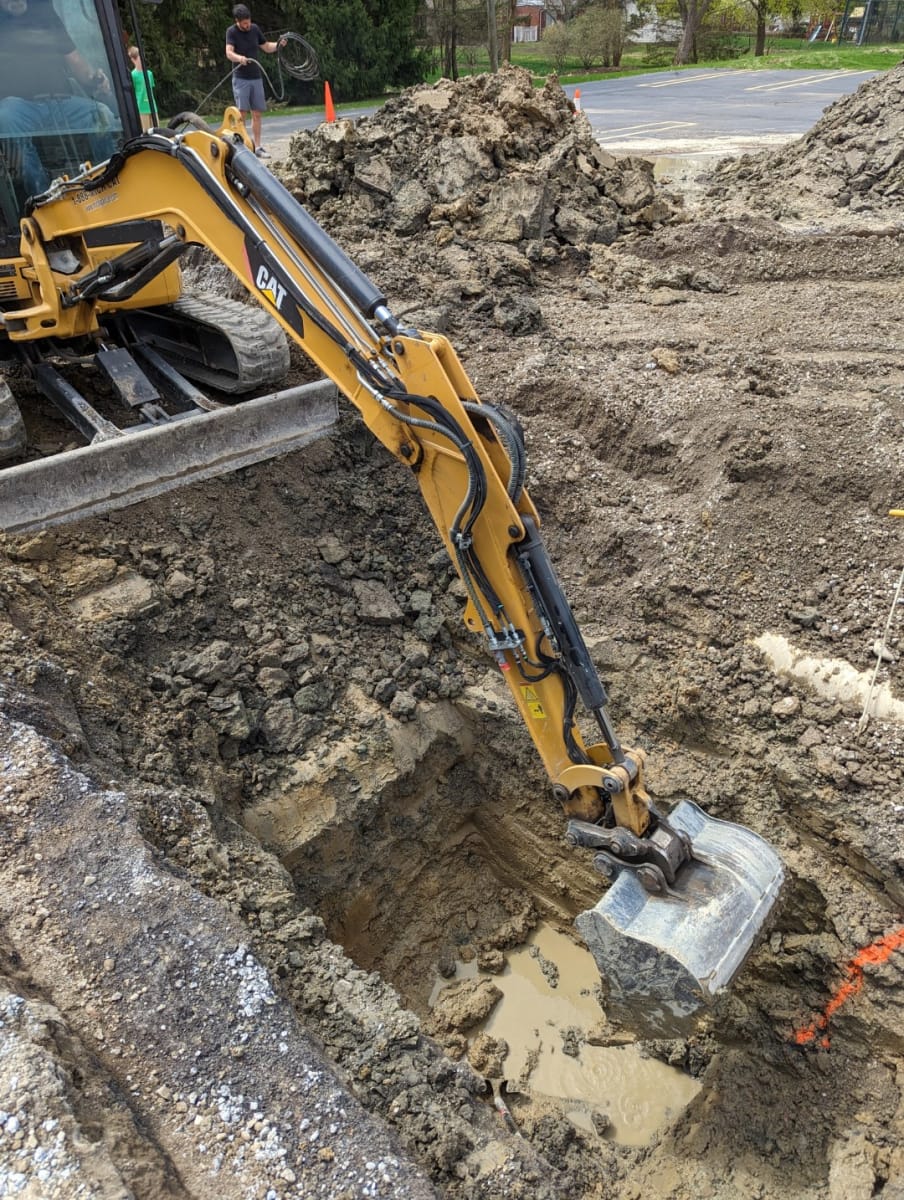
Onto the second day of digging.
Onto the second day of digging.
Onto the second day of digging.
Onto the second day of digging.
Getting deeper.
Getting deeper.
A second platform (lower level of dirt) had to be created to safely dig as deeply as was needed.
A second platform (lower level of dirt) had to be created to safely dig as deeply as was needed.
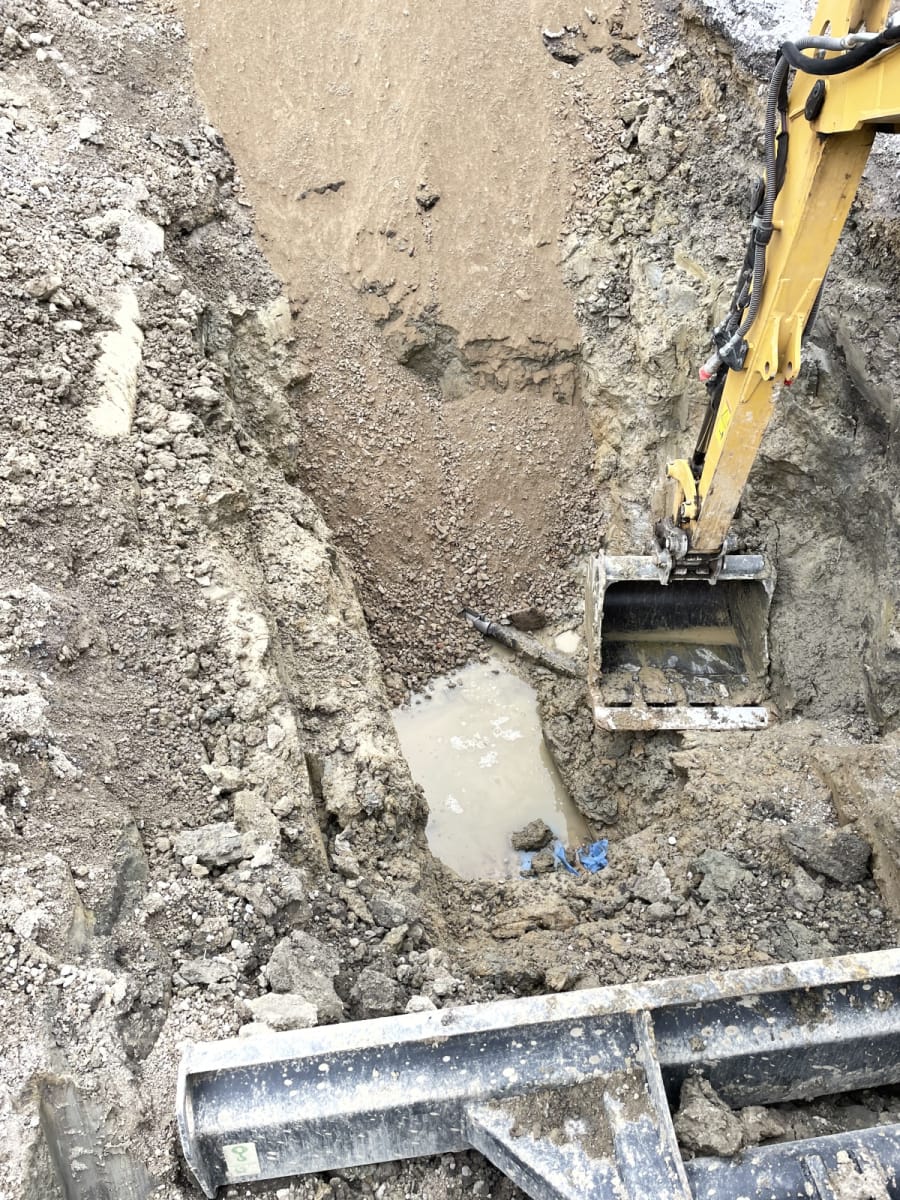
A view of the hole – with the pipe exposed.
A view of the hole – with the pipe exposed.
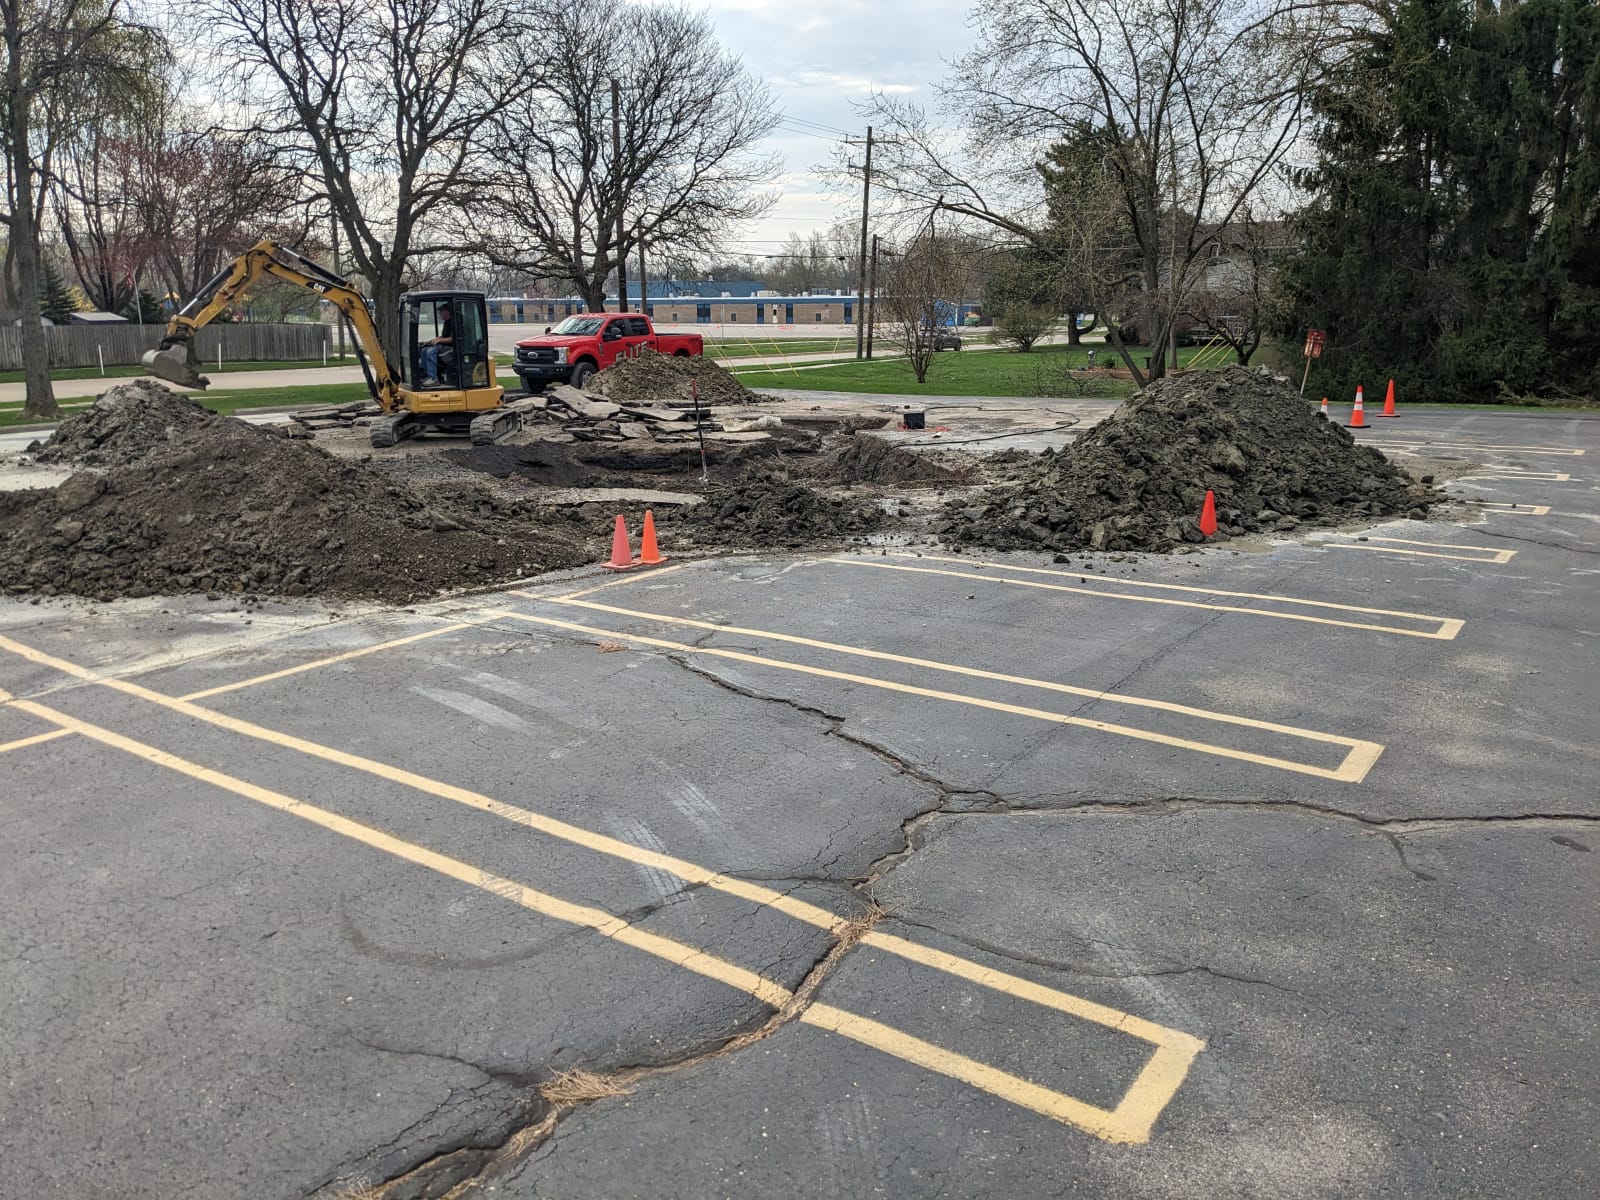
A wider view of the job site on the second day of digging.
A wider view of the job site on the second day of digging.
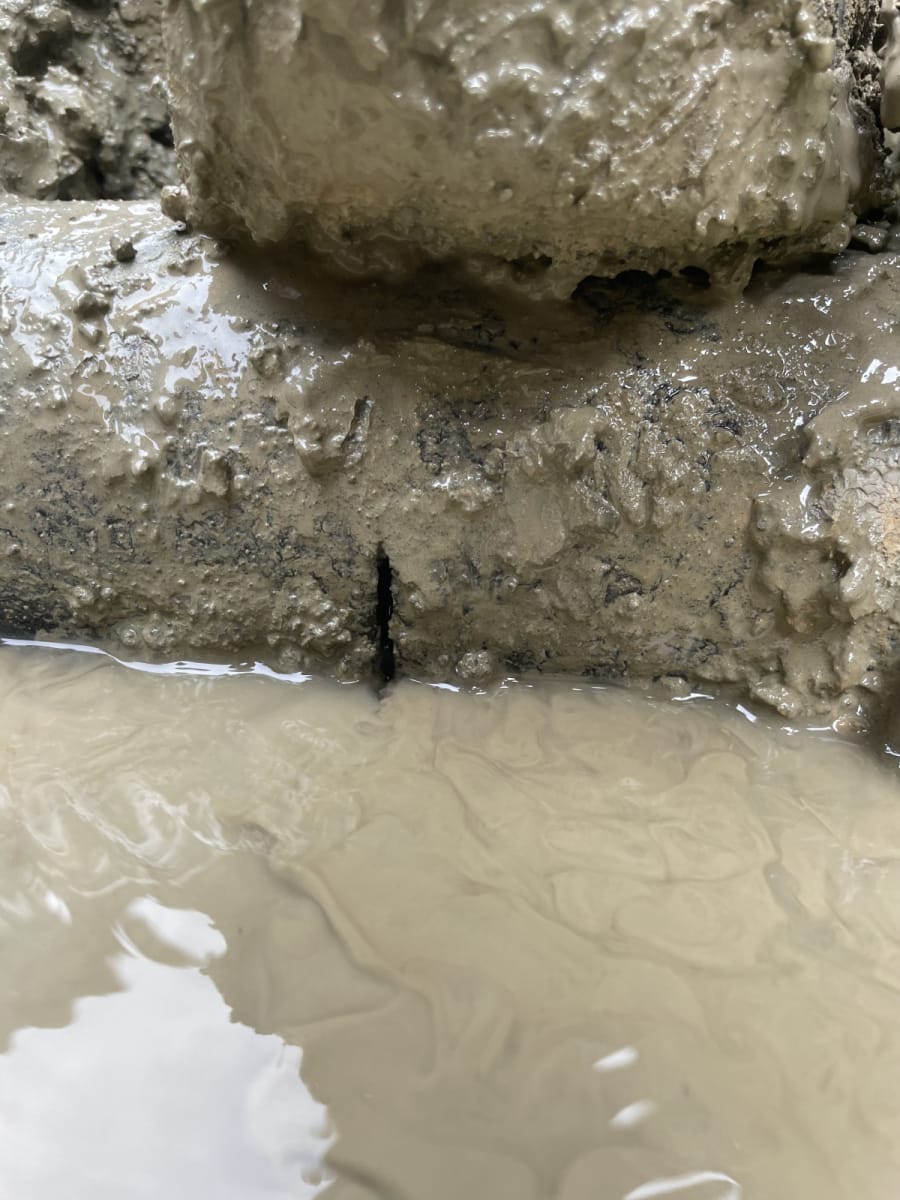
The leak is finally found – a split in the three-inch iron pipe, about 14 feet underground.
The leak is finally found – a split in the three-inch iron pipe, about 14 feet underground.
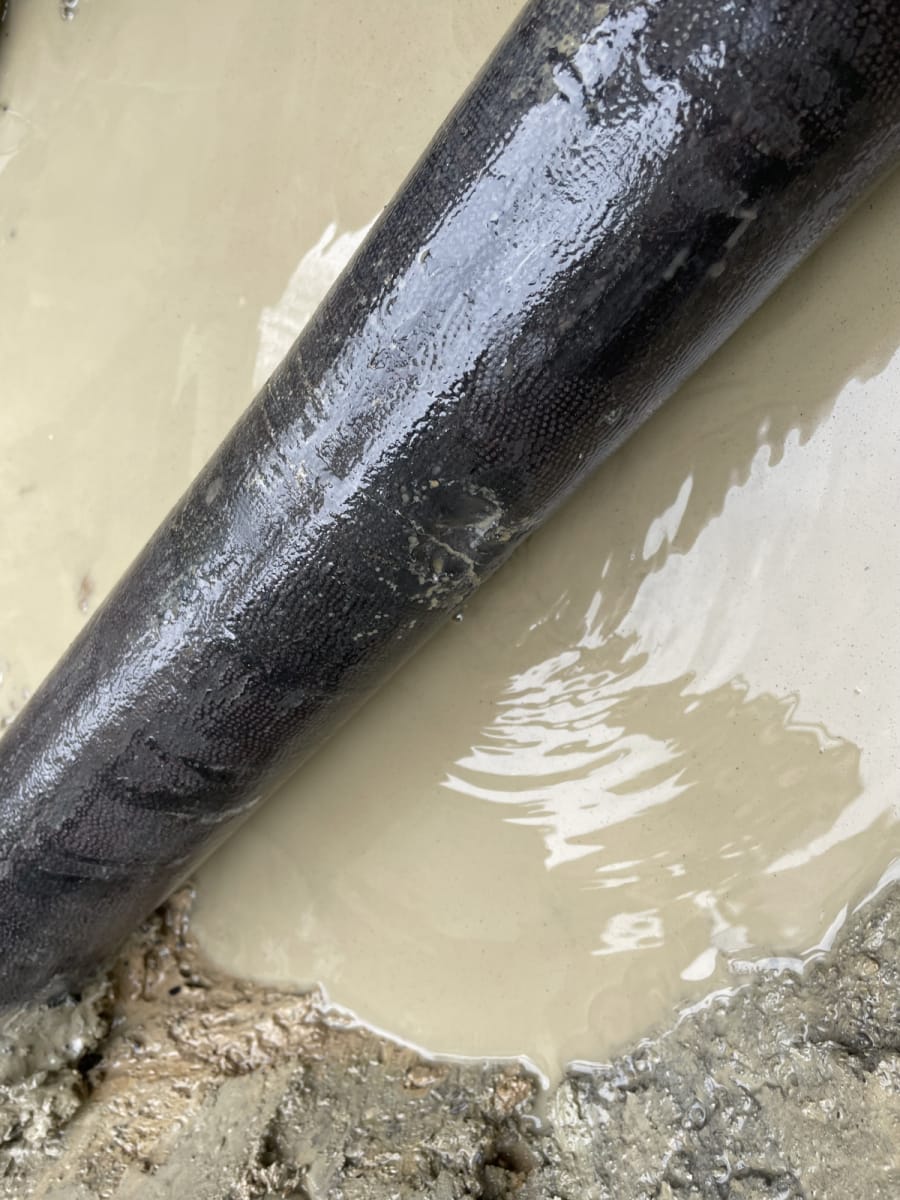
On the opposite side of the pipe – we found the potential root cause. A substantial dent that could have caused the opposite side to split. We speculate this could have happened upon install (1967), and it’s taken years for the split to appear, then worsen to the point where water became visible at the surface.
On the opposite side of the pipe – we found the potential root cause. A substantial dent that could have caused the opposite side to split. We speculate this could have happened upon install (1967), and it’s taken years for the split to appear, then worsen to the point where water became visible at the surface.
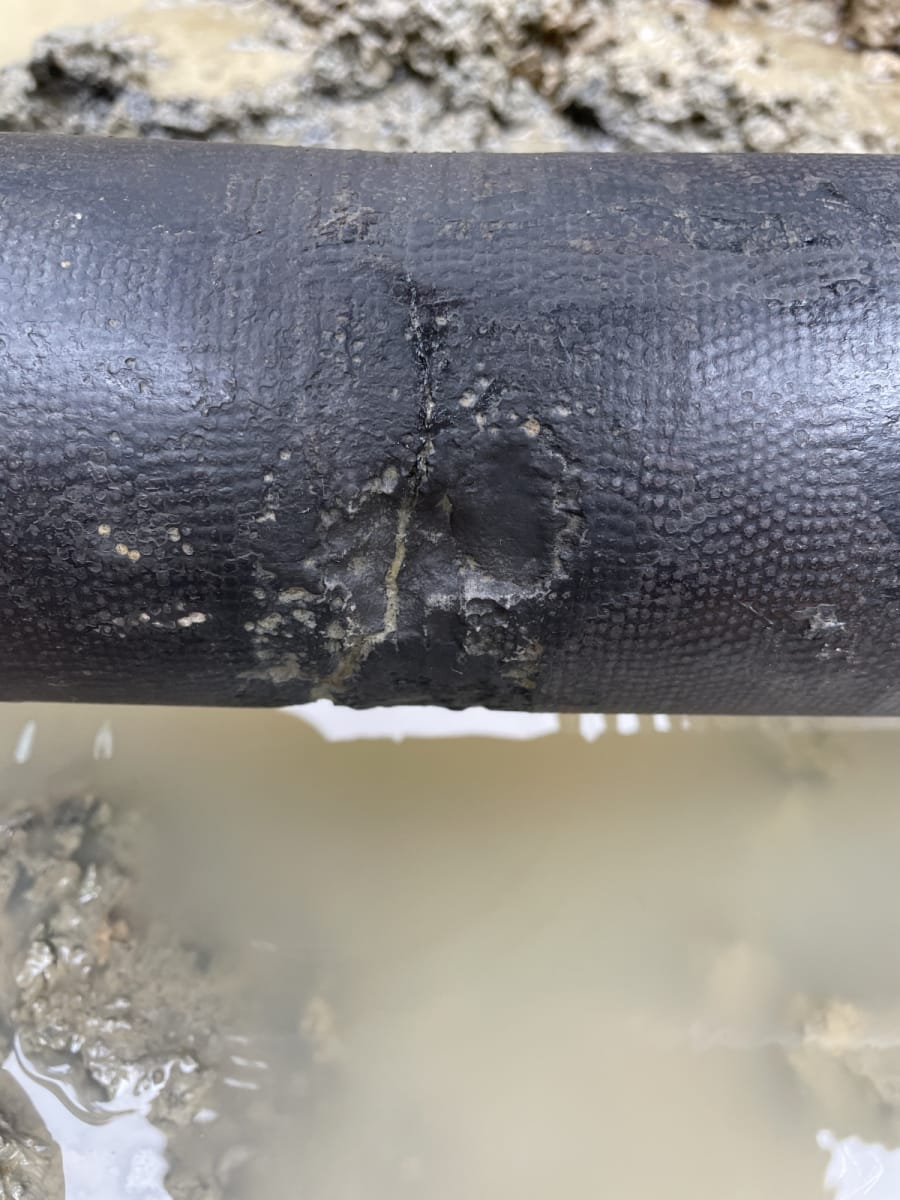
Another view of the dent in the pipe.
Another view of the dent in the pipe.
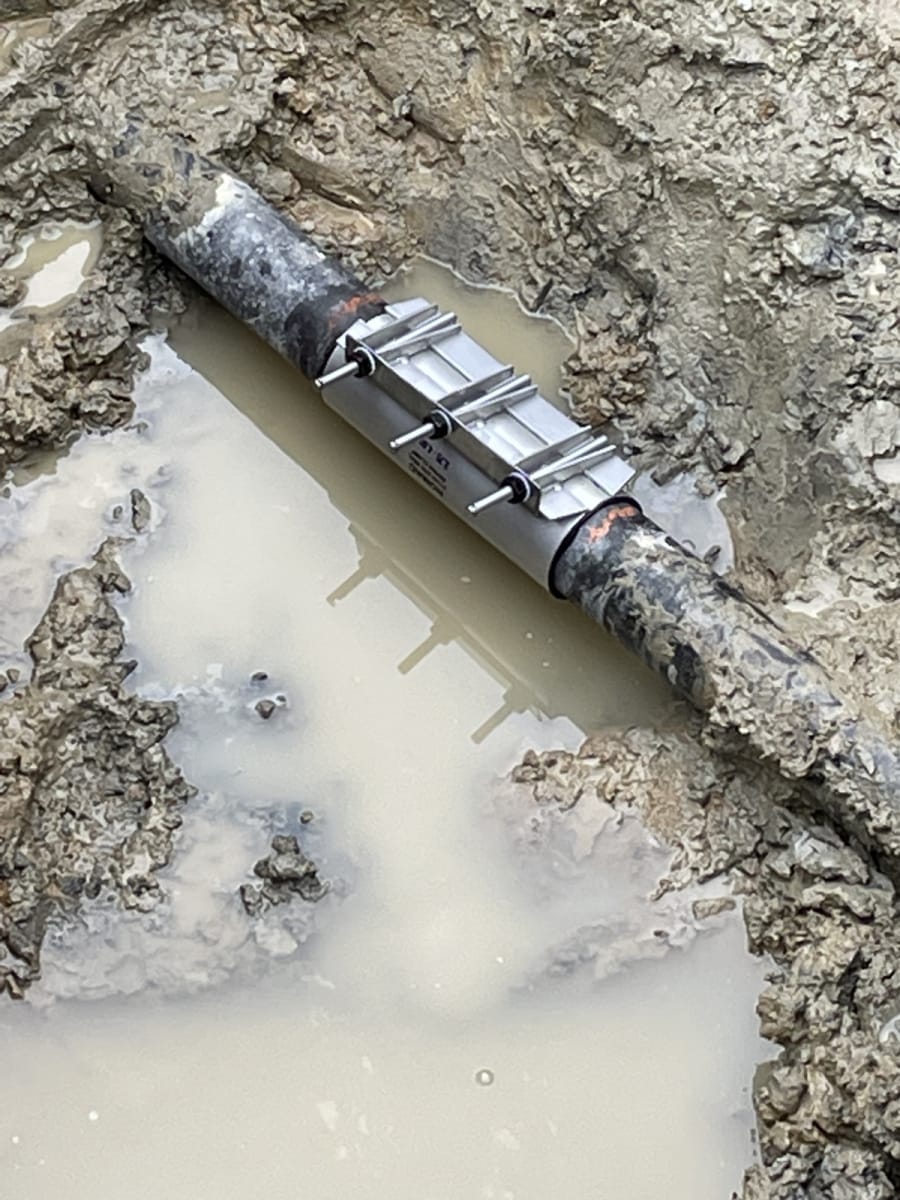
The pipe, with the repair clamp installed. Ready to be filled in.
The pipe, with the repair clamp installed. Ready to be filled in.
Capital Projects
A complete list of capital projects is available on the 2023 Improvement Projects page. Here, we’ll focus on some key projects to provide more context and detail.
The document below was presented to the board early in 2023 during planning sessions. We’re including this document to show how much effort the board makes to spend club money wisely.
We saved about $5,606 in labor and materials by shopping suppliers and performing all labor in-house for the filter sand replacement (more details on this project below).
We negotiated additional price reductions on the Funbrella canvas (about 15%).
The concrete replacement cost about $1,300 less than the original estimate.
Labor was performed in-house wherever possible.
There were also savings in non-capital areas, such as ordering pool chemicals. We saved nearly $1,000 by seeking multiple sources despite an 18% year-over-year increase in our initial chemical quote!
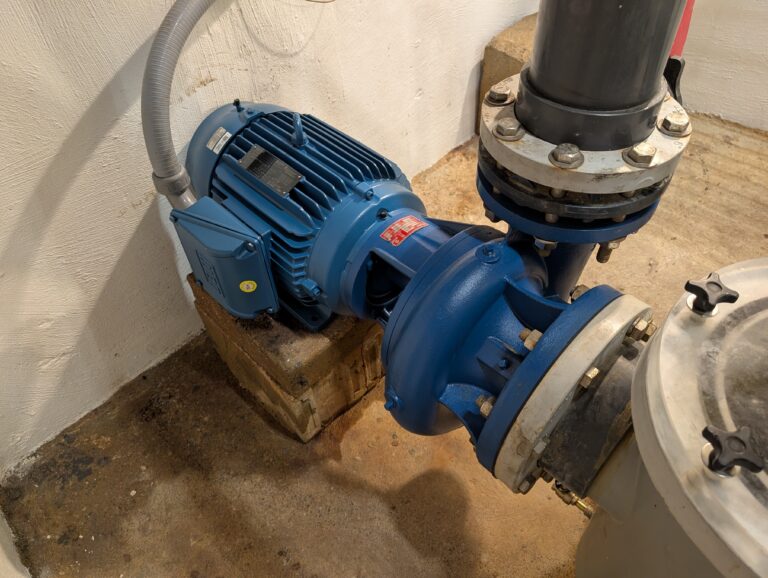
We knew sand replacement for the pool filter tanks would be required in 2023. The sand is only “rated” to last 5-10 years, and following the pool renovation (which clogged the sand with plaster dust), it was a necessity. Quoted by a third party, the job would cost nearly seven thousand dollars. We were sure we could do it for much less.
The job involved many hours of manual labor over several days. The sand was removed from the tanks via a custom shop vac and cyclone tank system (thanks, Jason). This was a tedious, messy job. Components were removed and replaced through an impossibly small opening at the top. New sand was hauled and poured into the tanks.
We found the water consistently more clear during the 2023 season than in previous years. The new finer-grade sand is much more effective at keeping our pool water crystal-clear.
The gallery was not found!
Pool Gutter Grate Replacement
We’re not sure when the gutter system was installed on the pool. Unfortunately, our written records are less than optimal. The best we can tell is that this was done in the mid-90s.
The white PVC (plastic) grates that cover the gutters are slowly deteriorating. Many were broken during the pool renovation. Replacement is difficult, as these particular grates are no longer made. Alternatives exist but are costly and do not match the original grates.
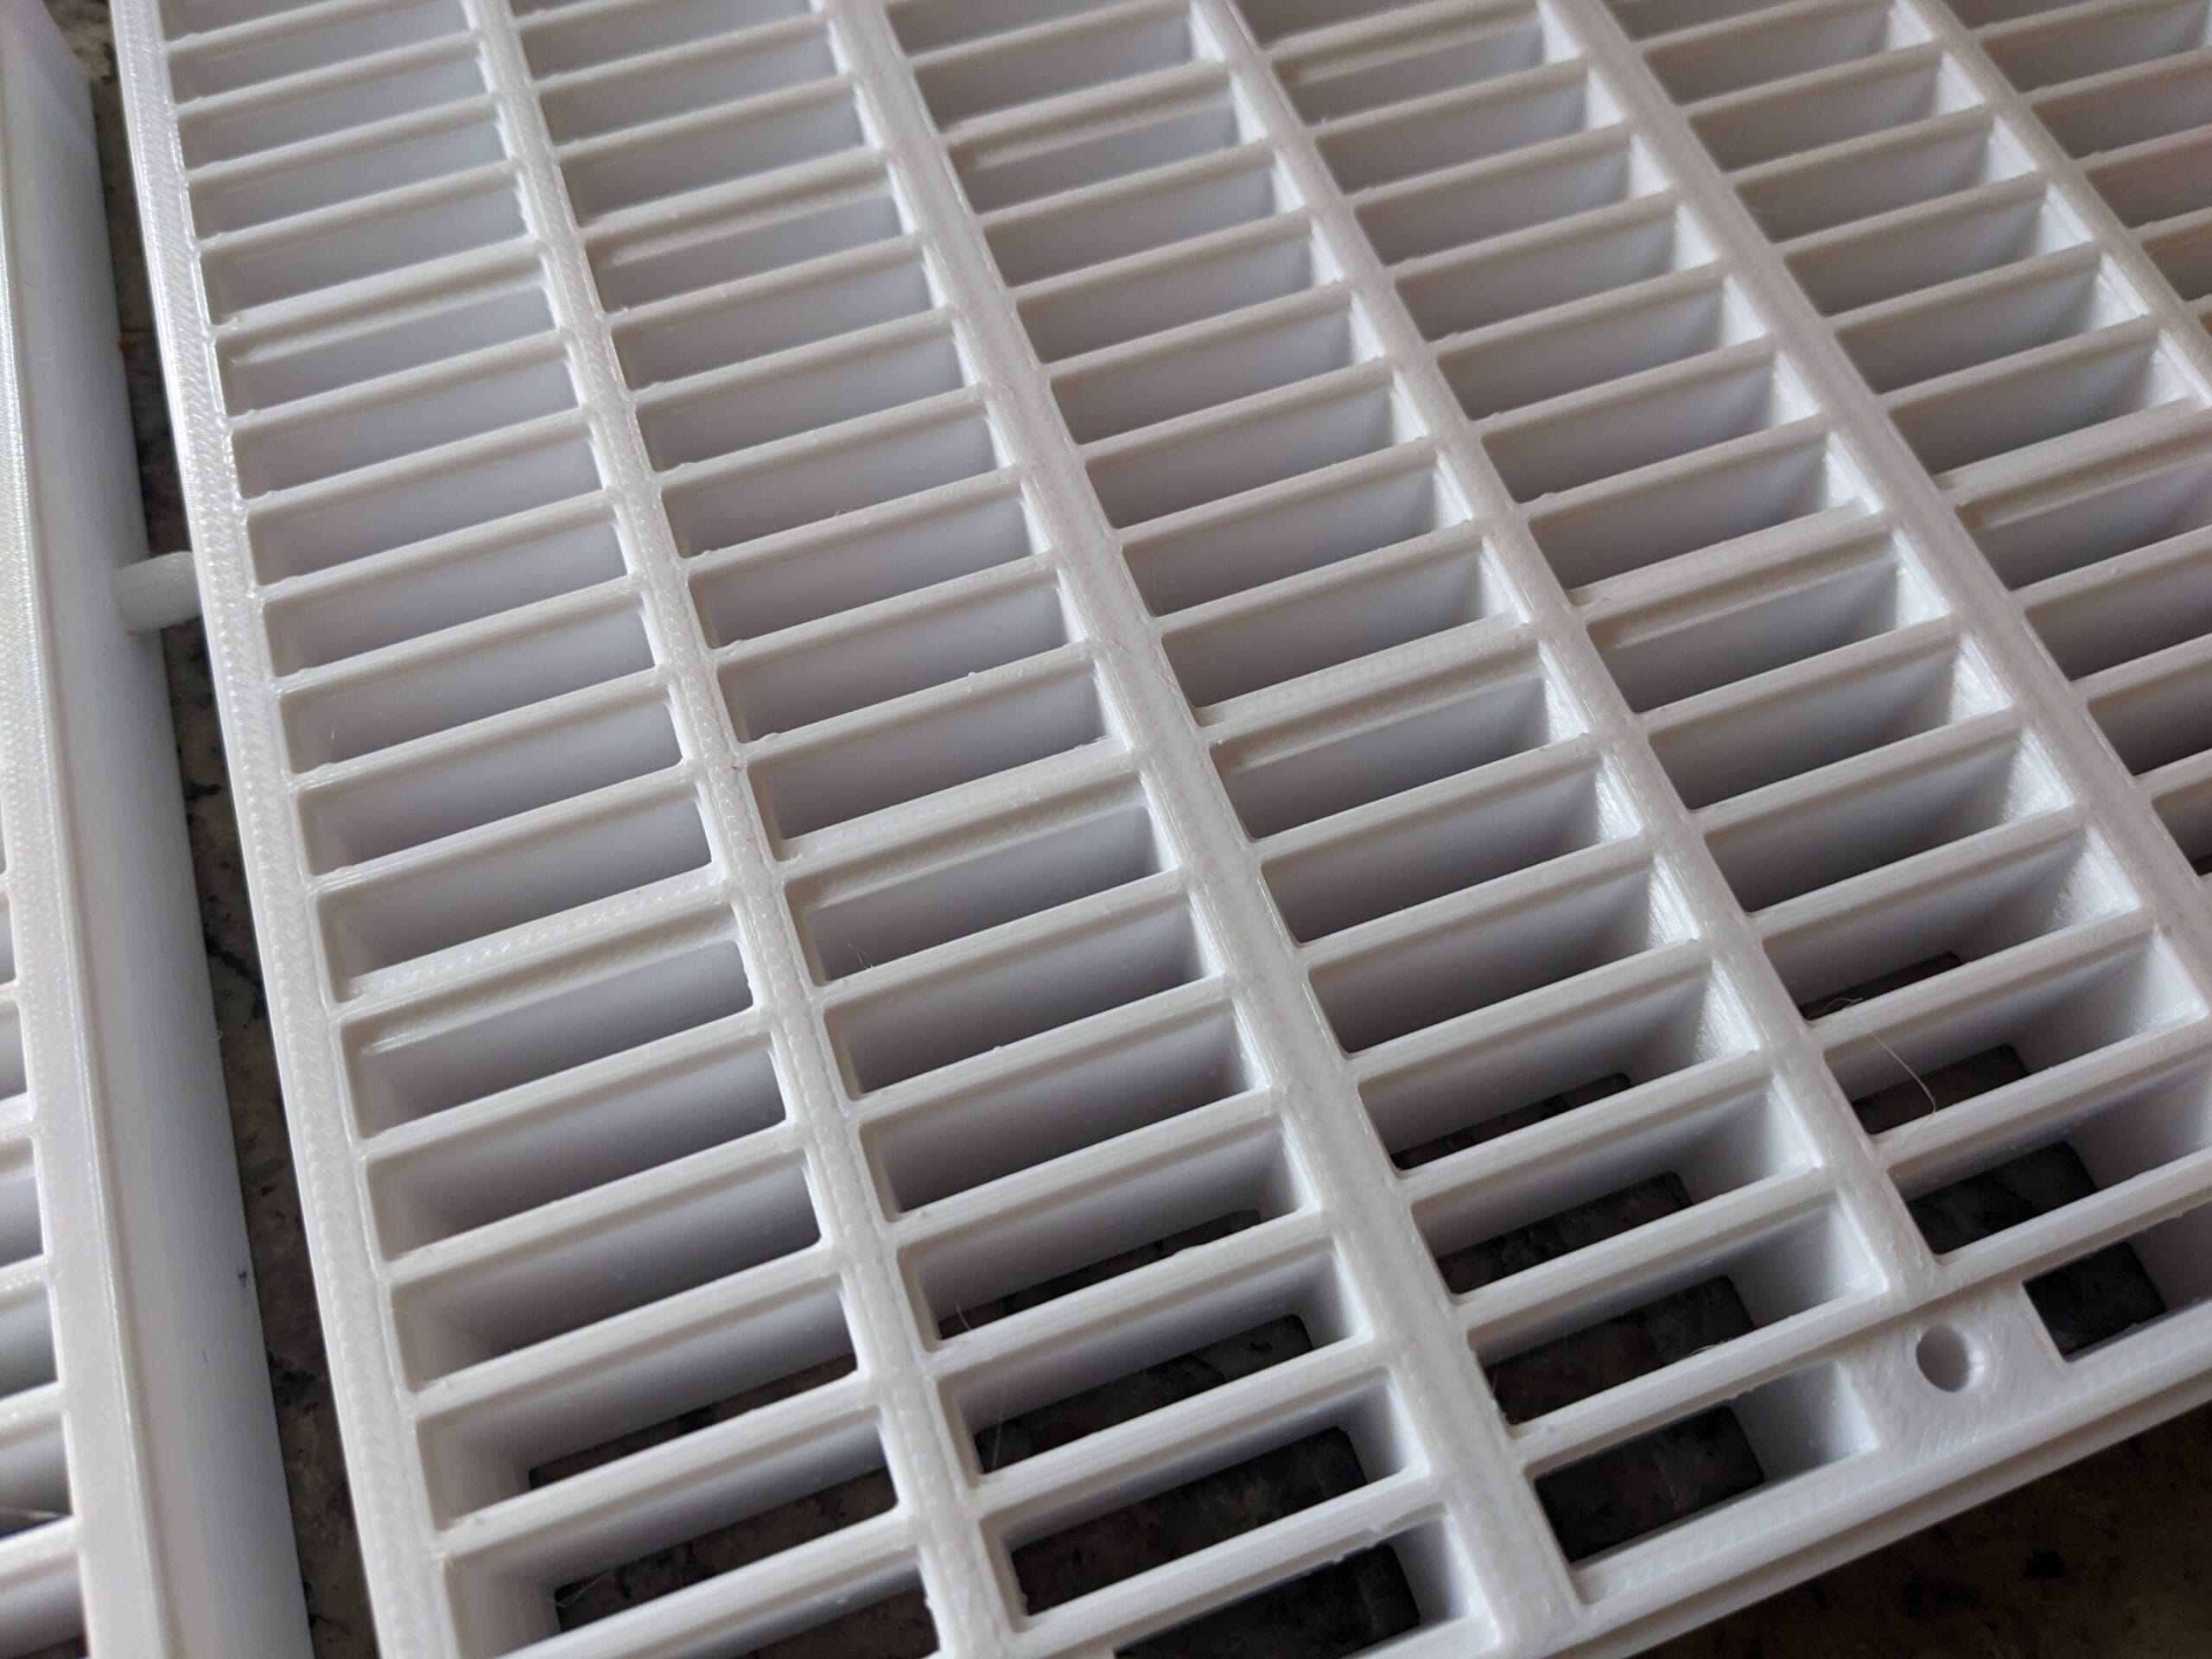
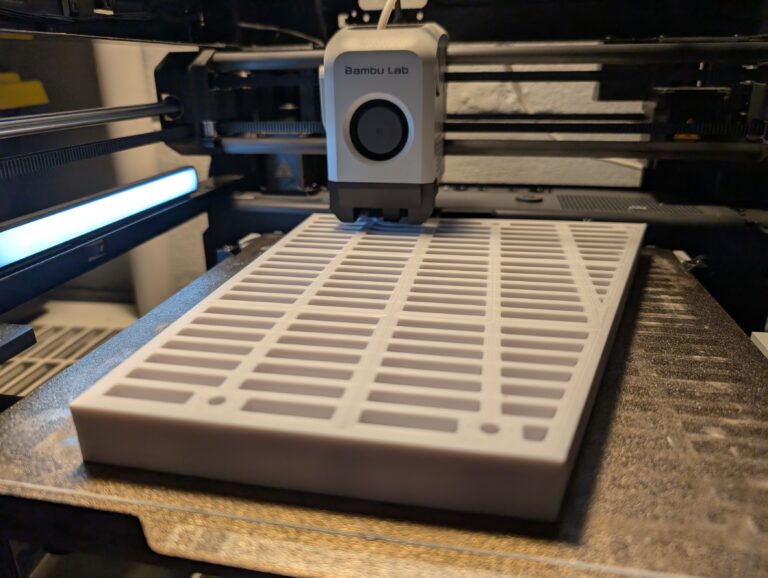
After some research and significant design effort, followed by countless failures, adjustments, and re-tries, we determined that 3D-printed grates could be a viable solution. We’ve installed dozens, and they seem to work well.
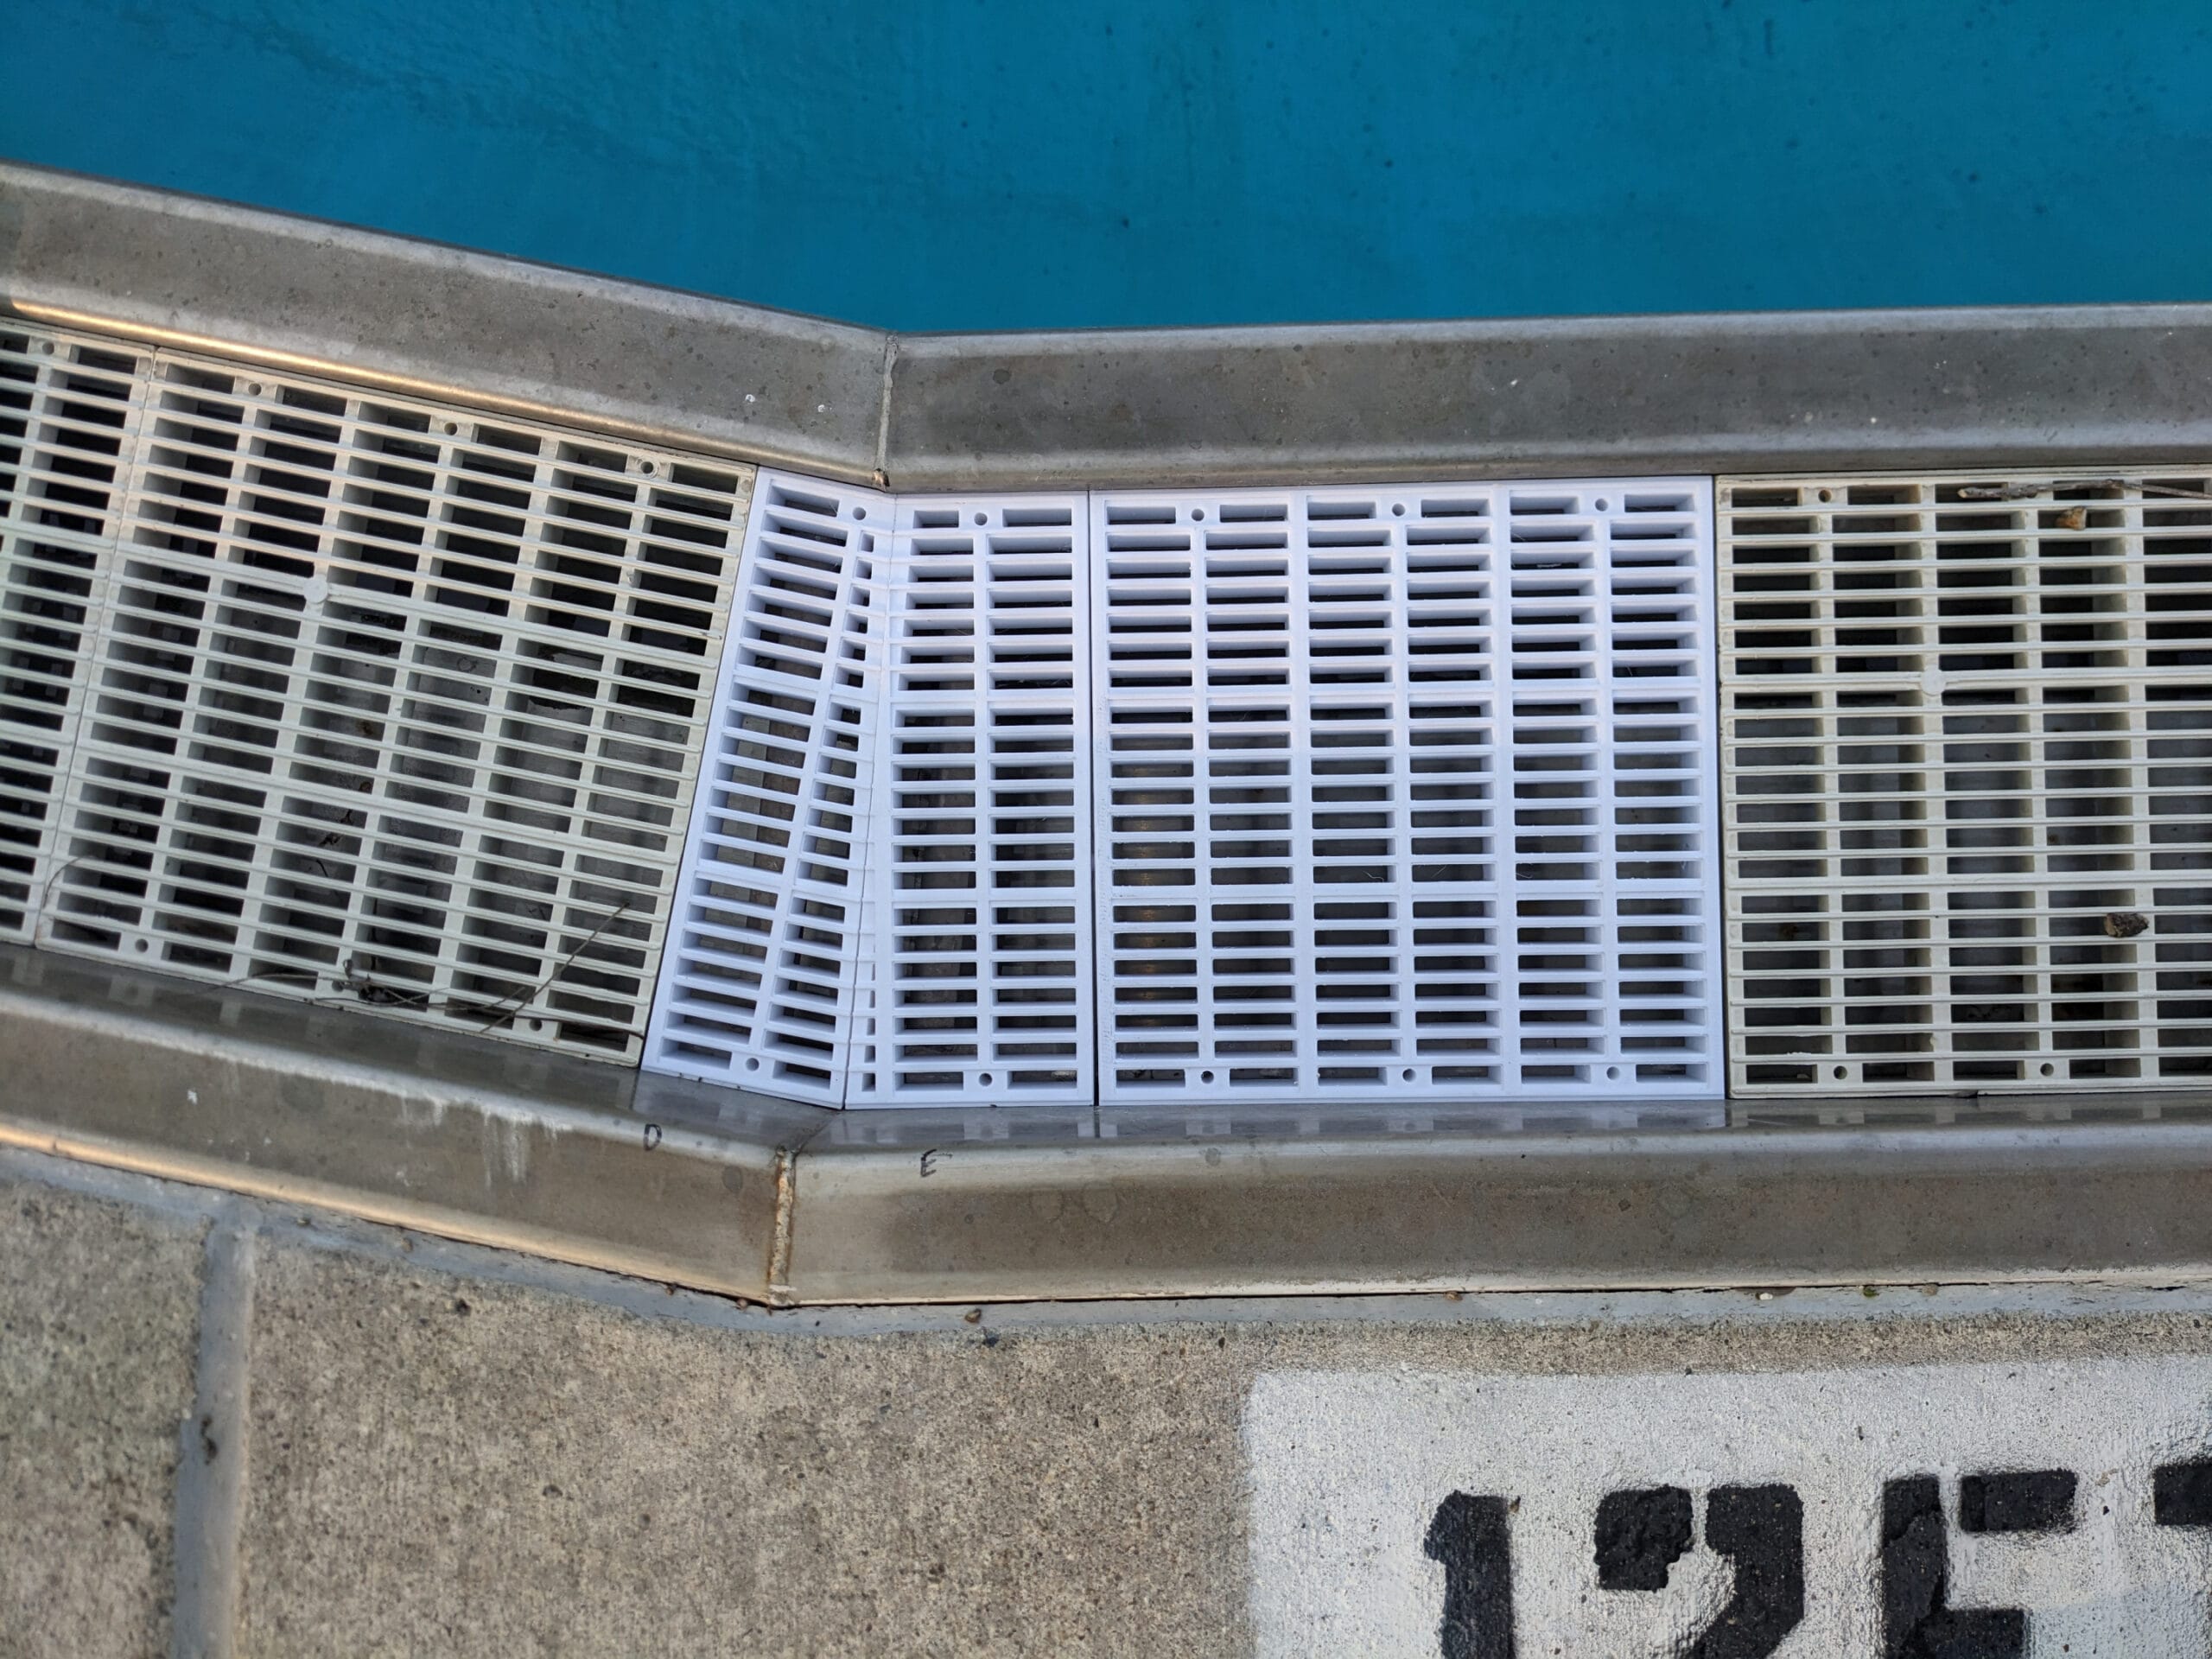
An example of three separate 3D-printed grates installed into the pool gutter tray. These grates are designed to mechanically mate with the existing grates (using a hole-and-peg system). Unfortunately, they don’t blend well color-wise; the old grates are not particularly white anymore!
An example of three separate 3D-printed grates installed into the pool gutter tray. These grates are designed to mechanically mate with the existing grates (using a hole-and-peg system). Unfortunately, they don’t blend well color-wise; the old grates are not particularly white anymore!
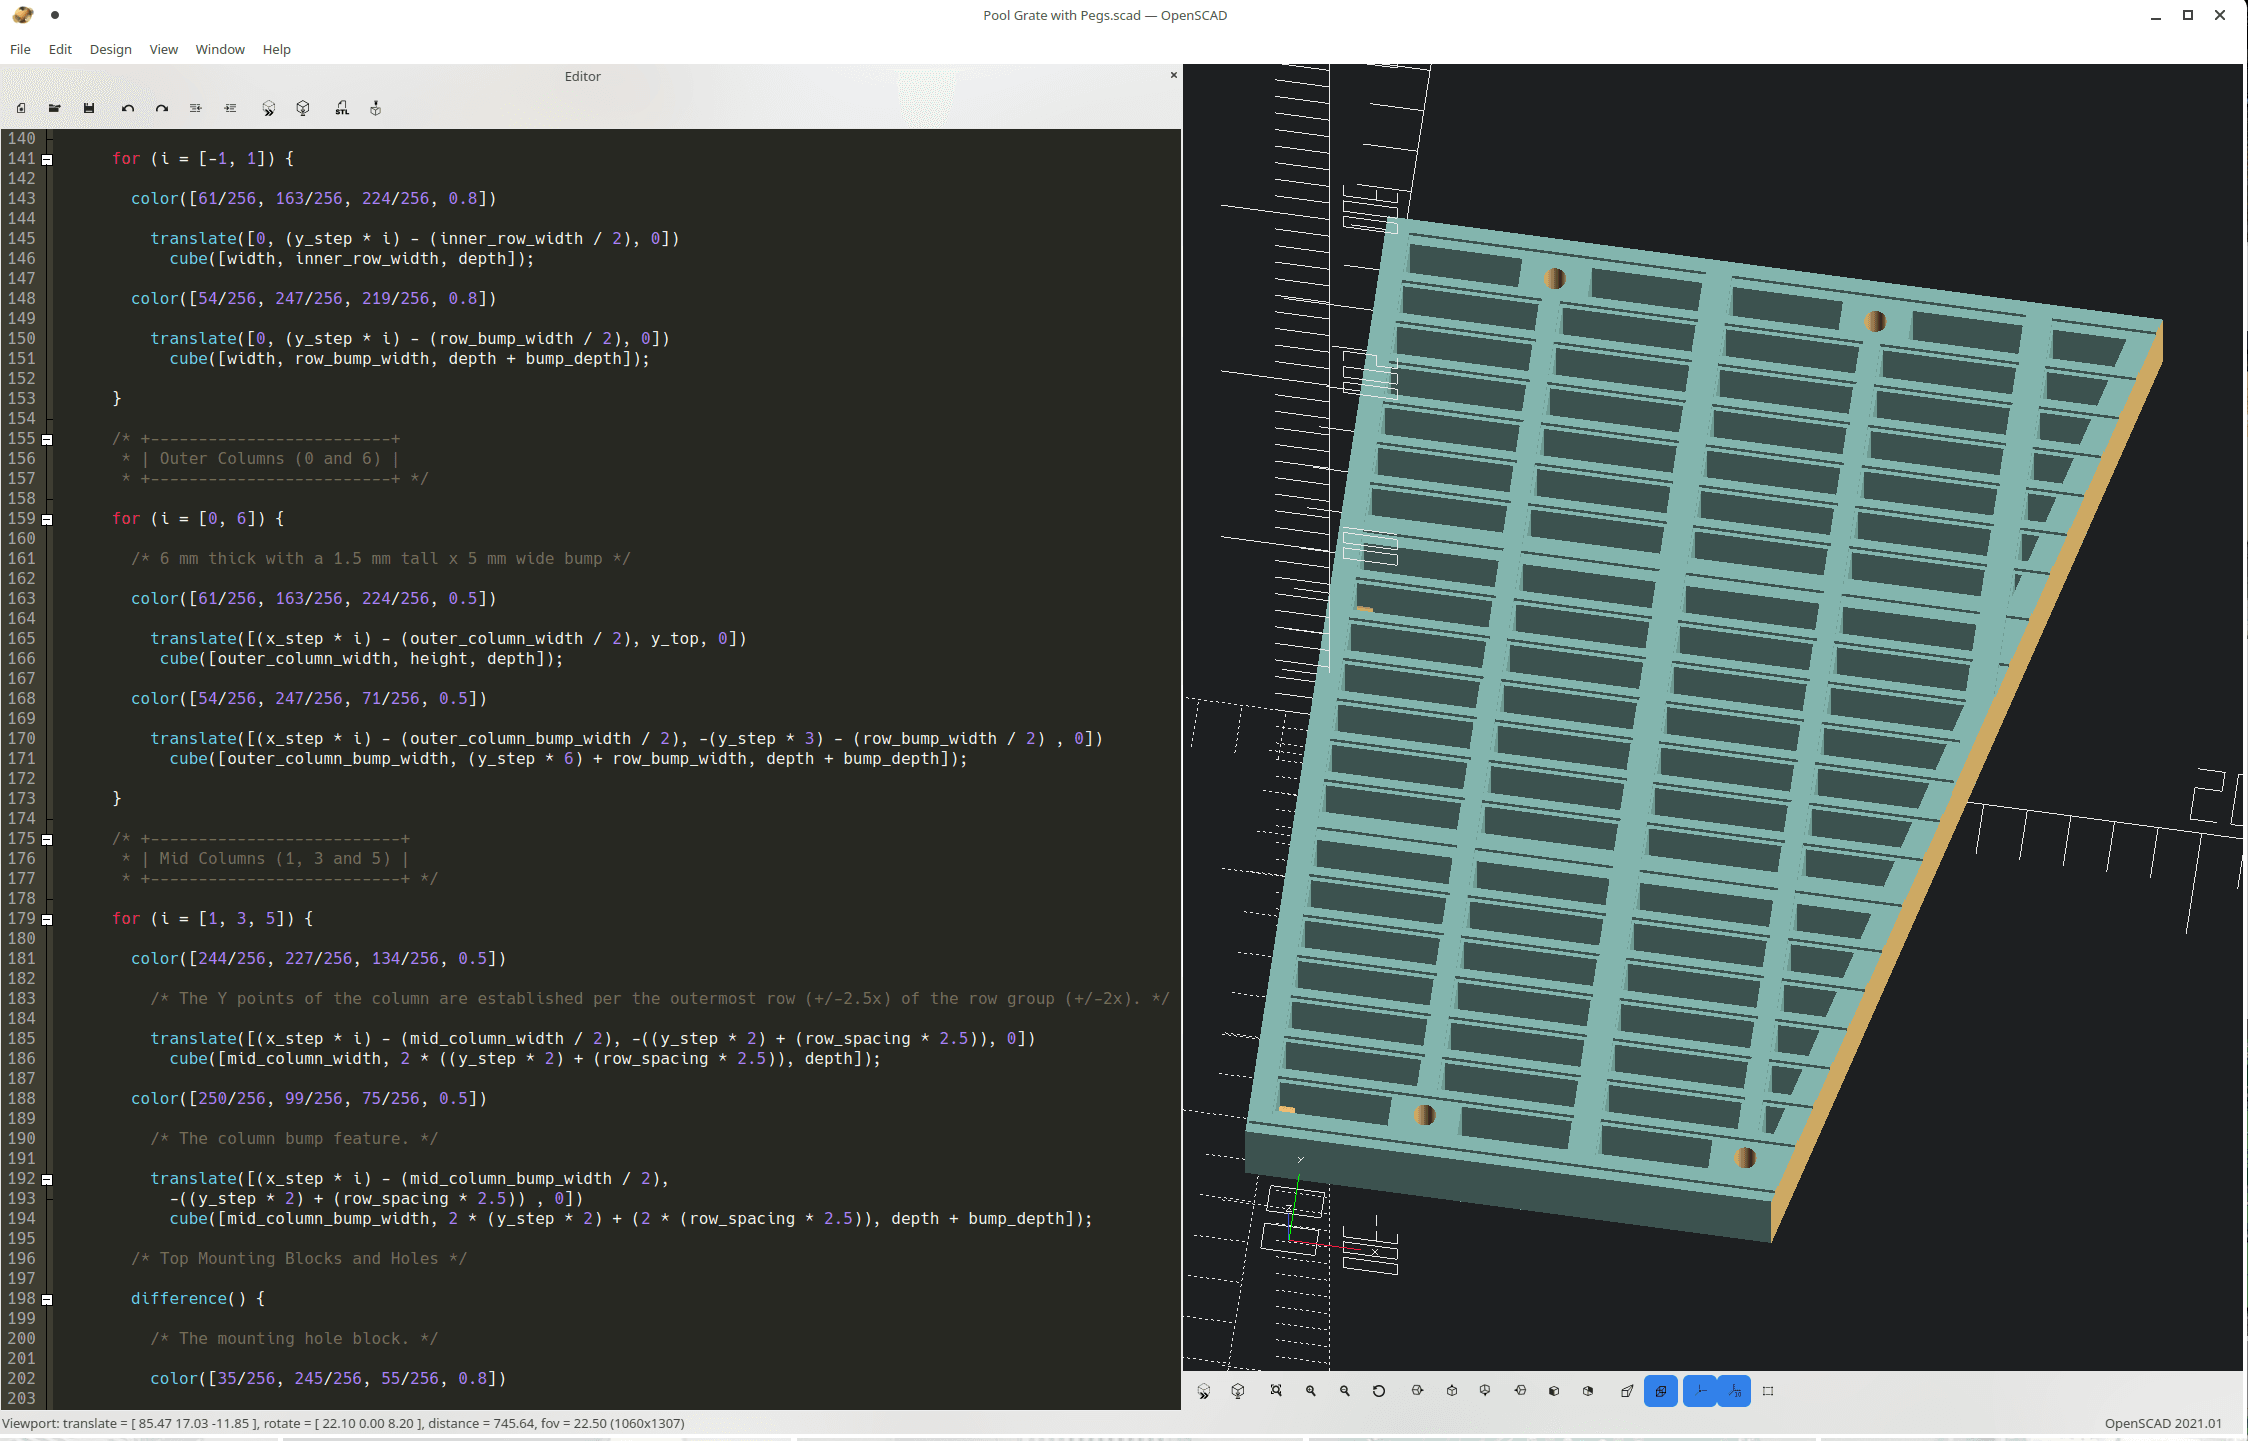
Due to the repetitive nature of the grate design, a programmatic tool called “OpenSCAD” is used to define the grate geometry. Over time, the code has been improved and refined to allow multiple types of angular cuts for custom-fit pieces.
Due to the repetitive nature of the grate design, a programmatic tool called “OpenSCAD” is used to define the grate geometry. Over time, the code has been improved and refined to allow multiple types of angular cuts for custom-fit pieces.
This is an example of an angular 3D-printed grate, intended to fit into a transitional portion of the gutter tray.
This is an example of an angular 3D-printed grate, intended to fit into a transitional portion of the gutter tray.
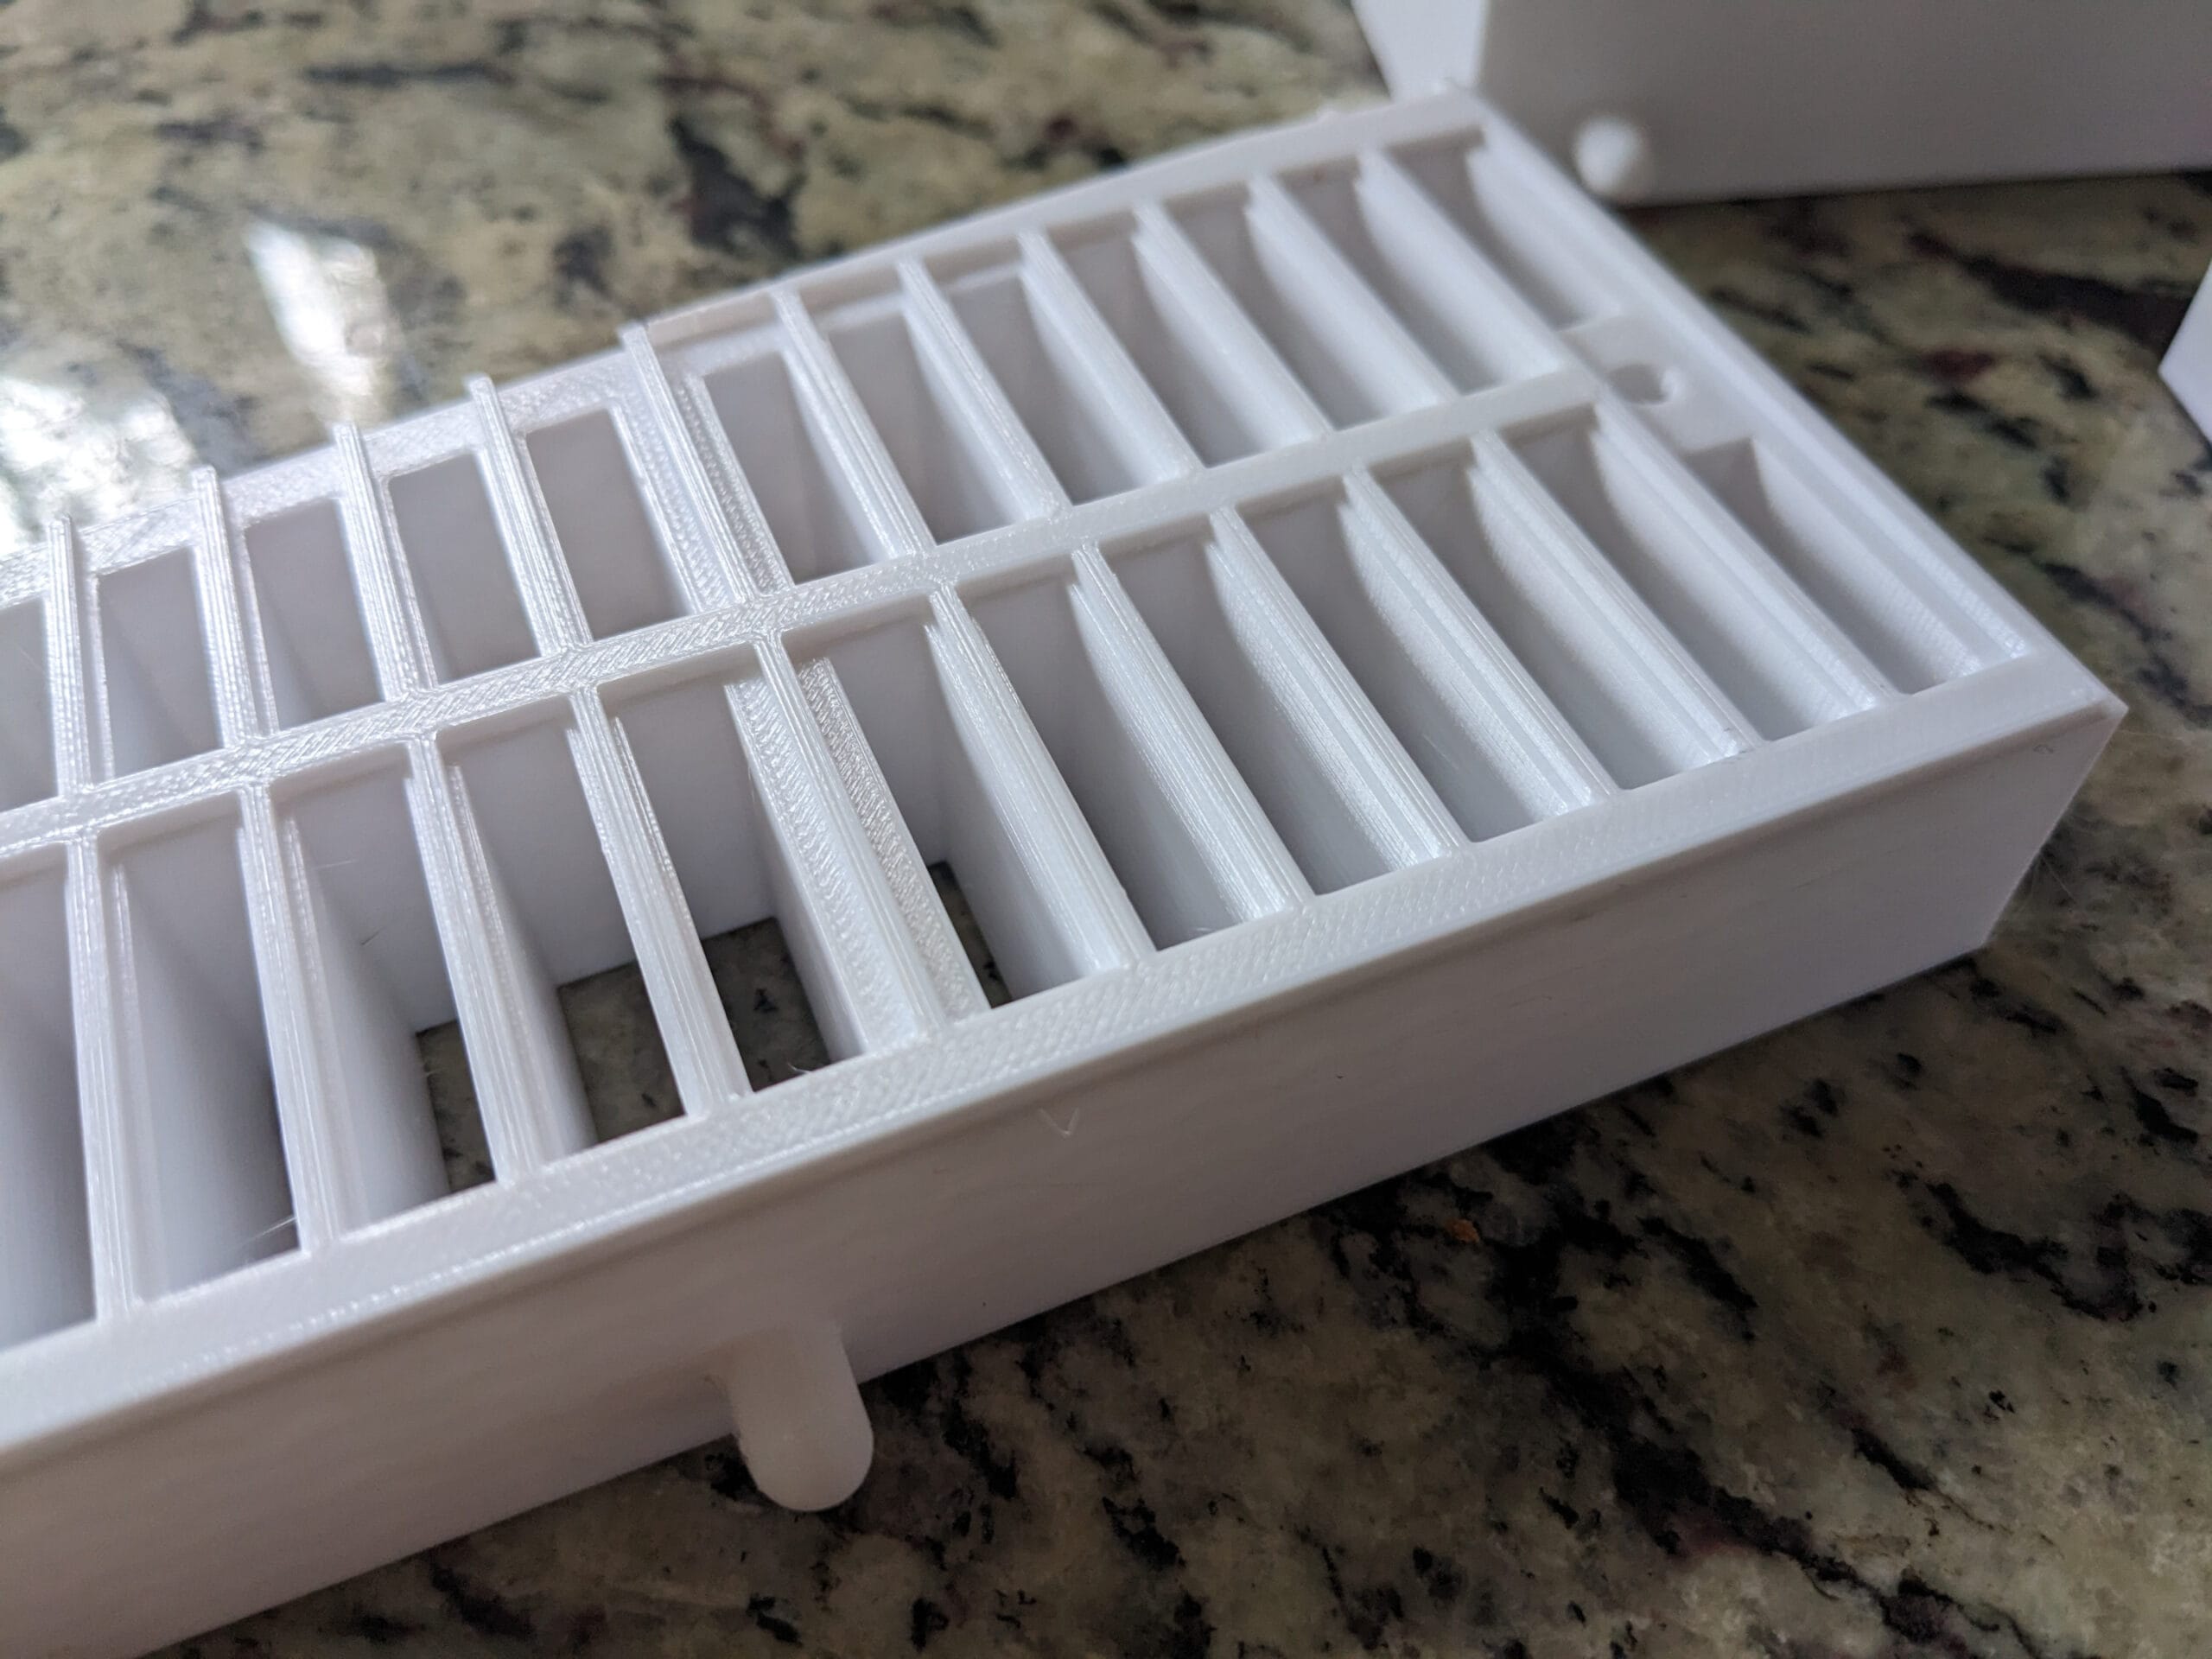
This is an example of a full 3D-printed grate.
This is an example of a full 3D-printed grate.
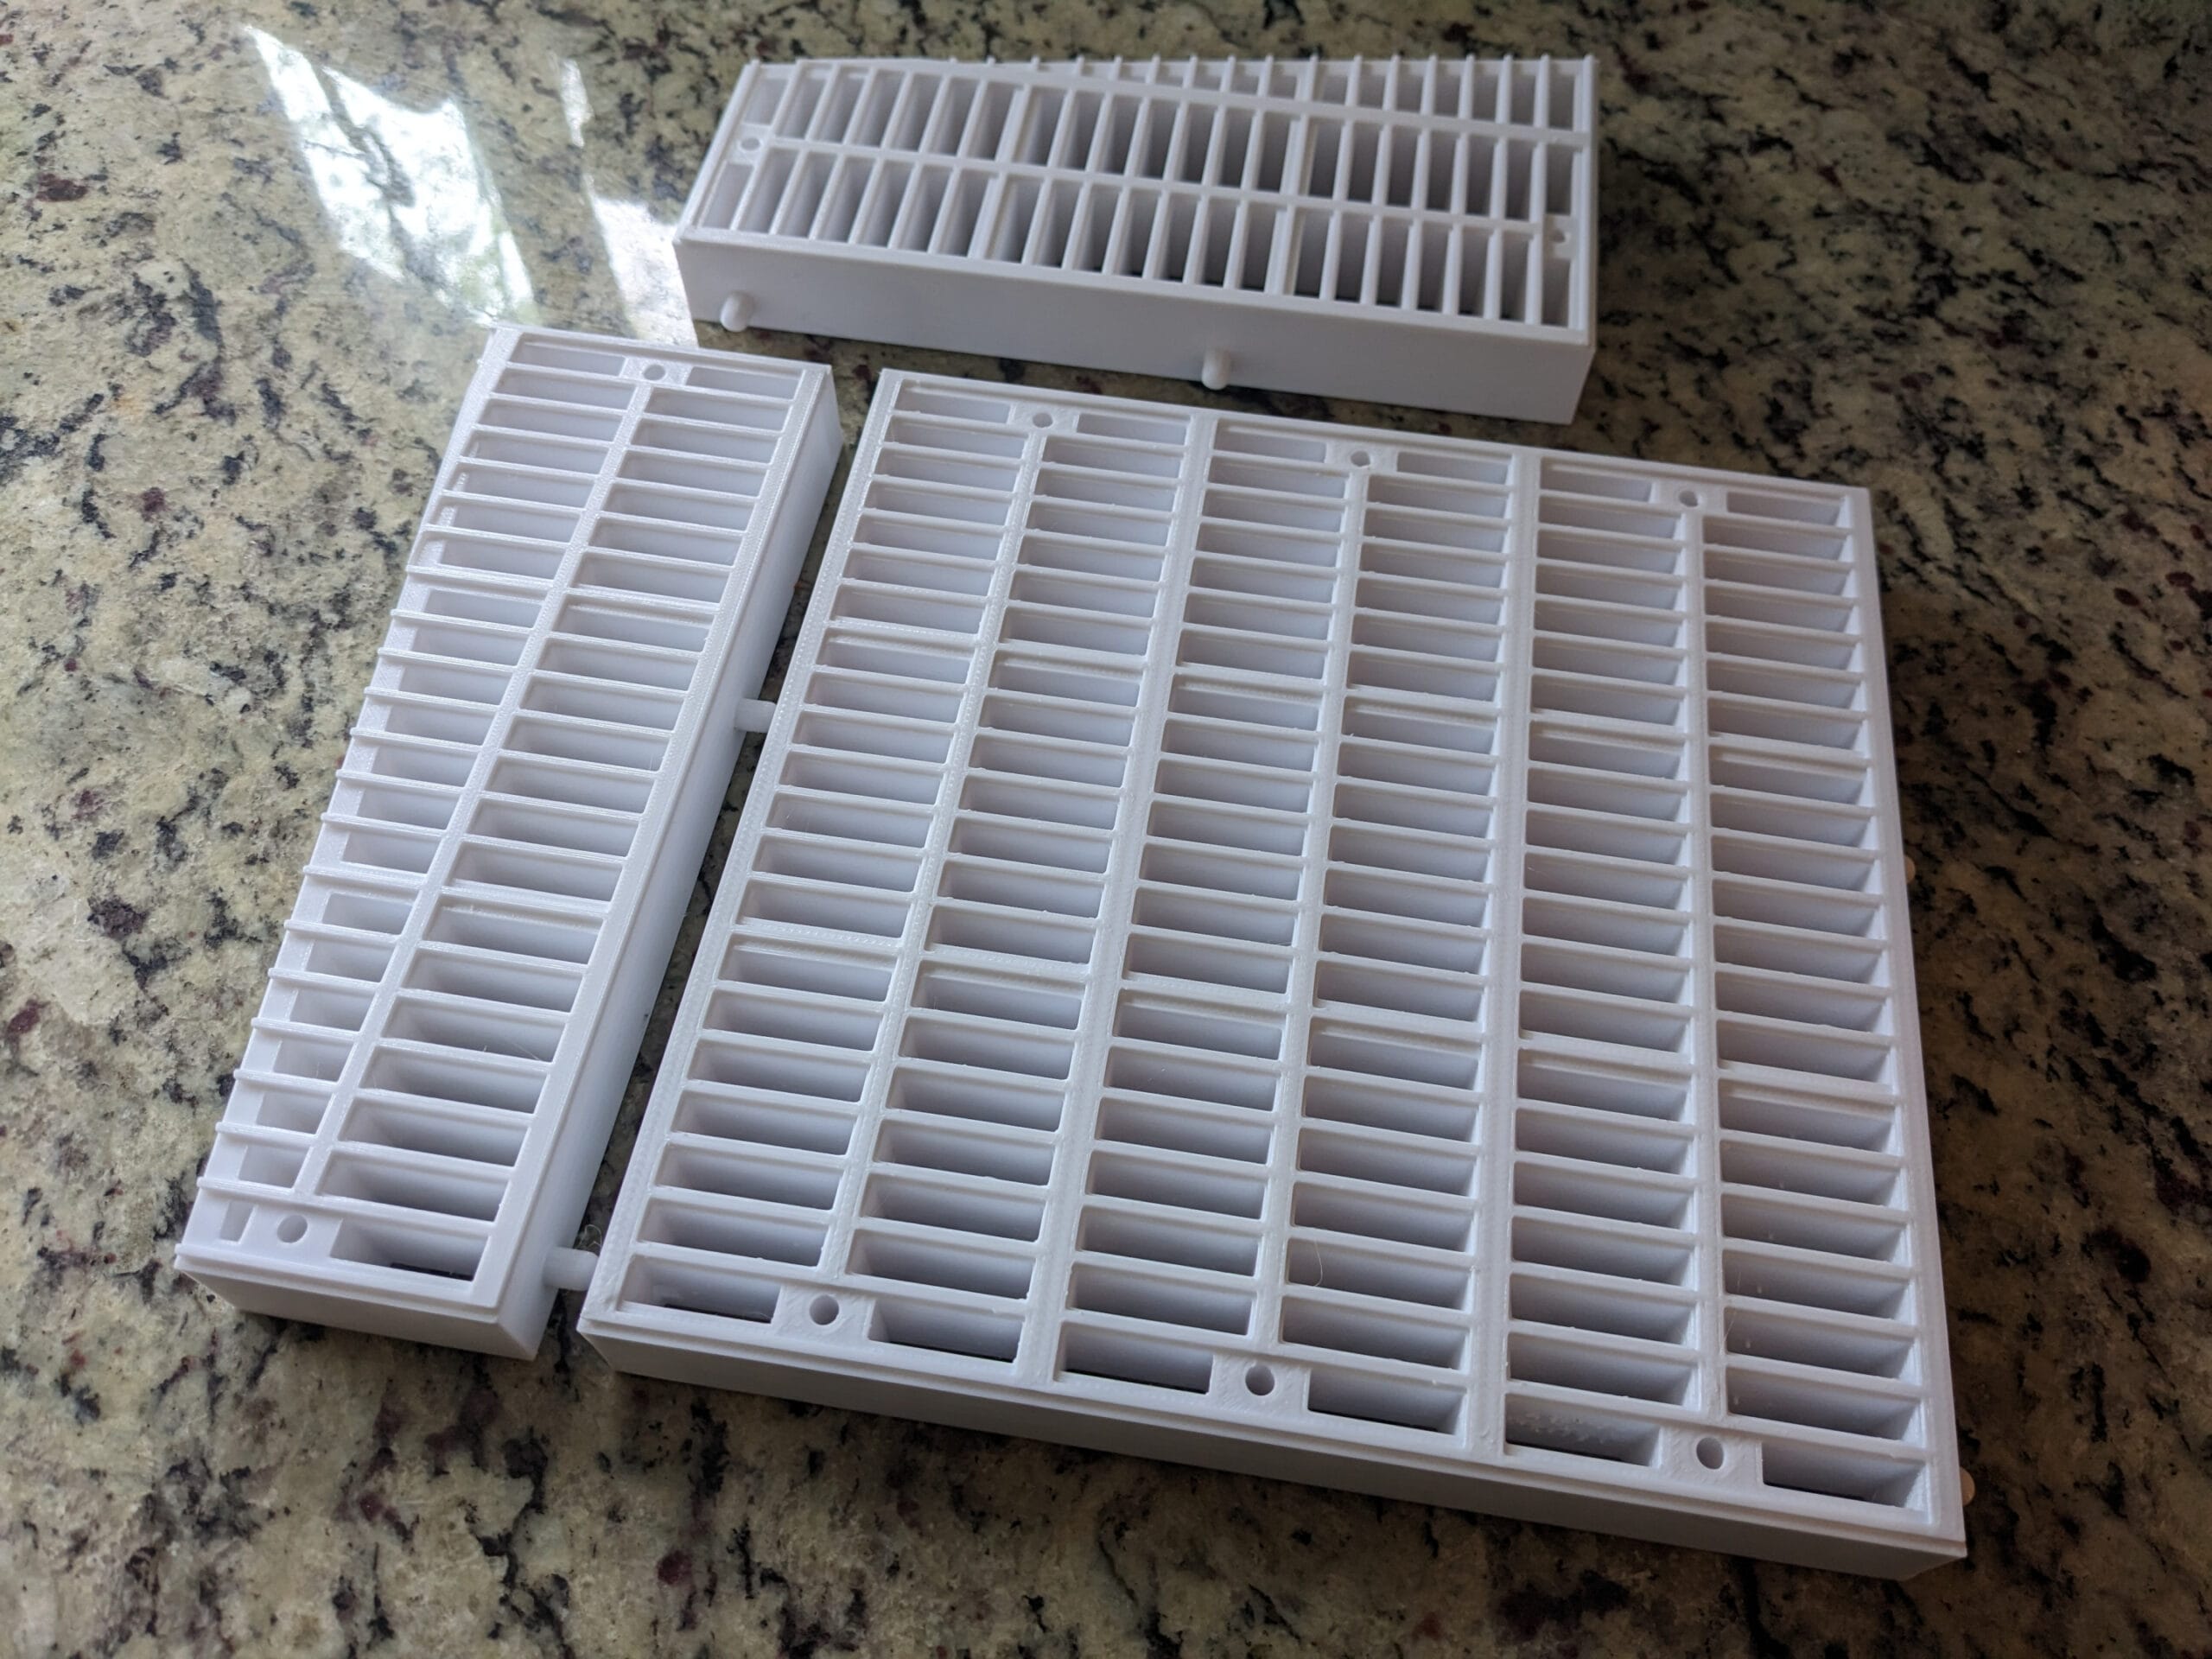
Show are three 3D-printed grates of differing geometries, ready for installation.
Show are three 3D-printed grates of differing geometries, ready for installation.
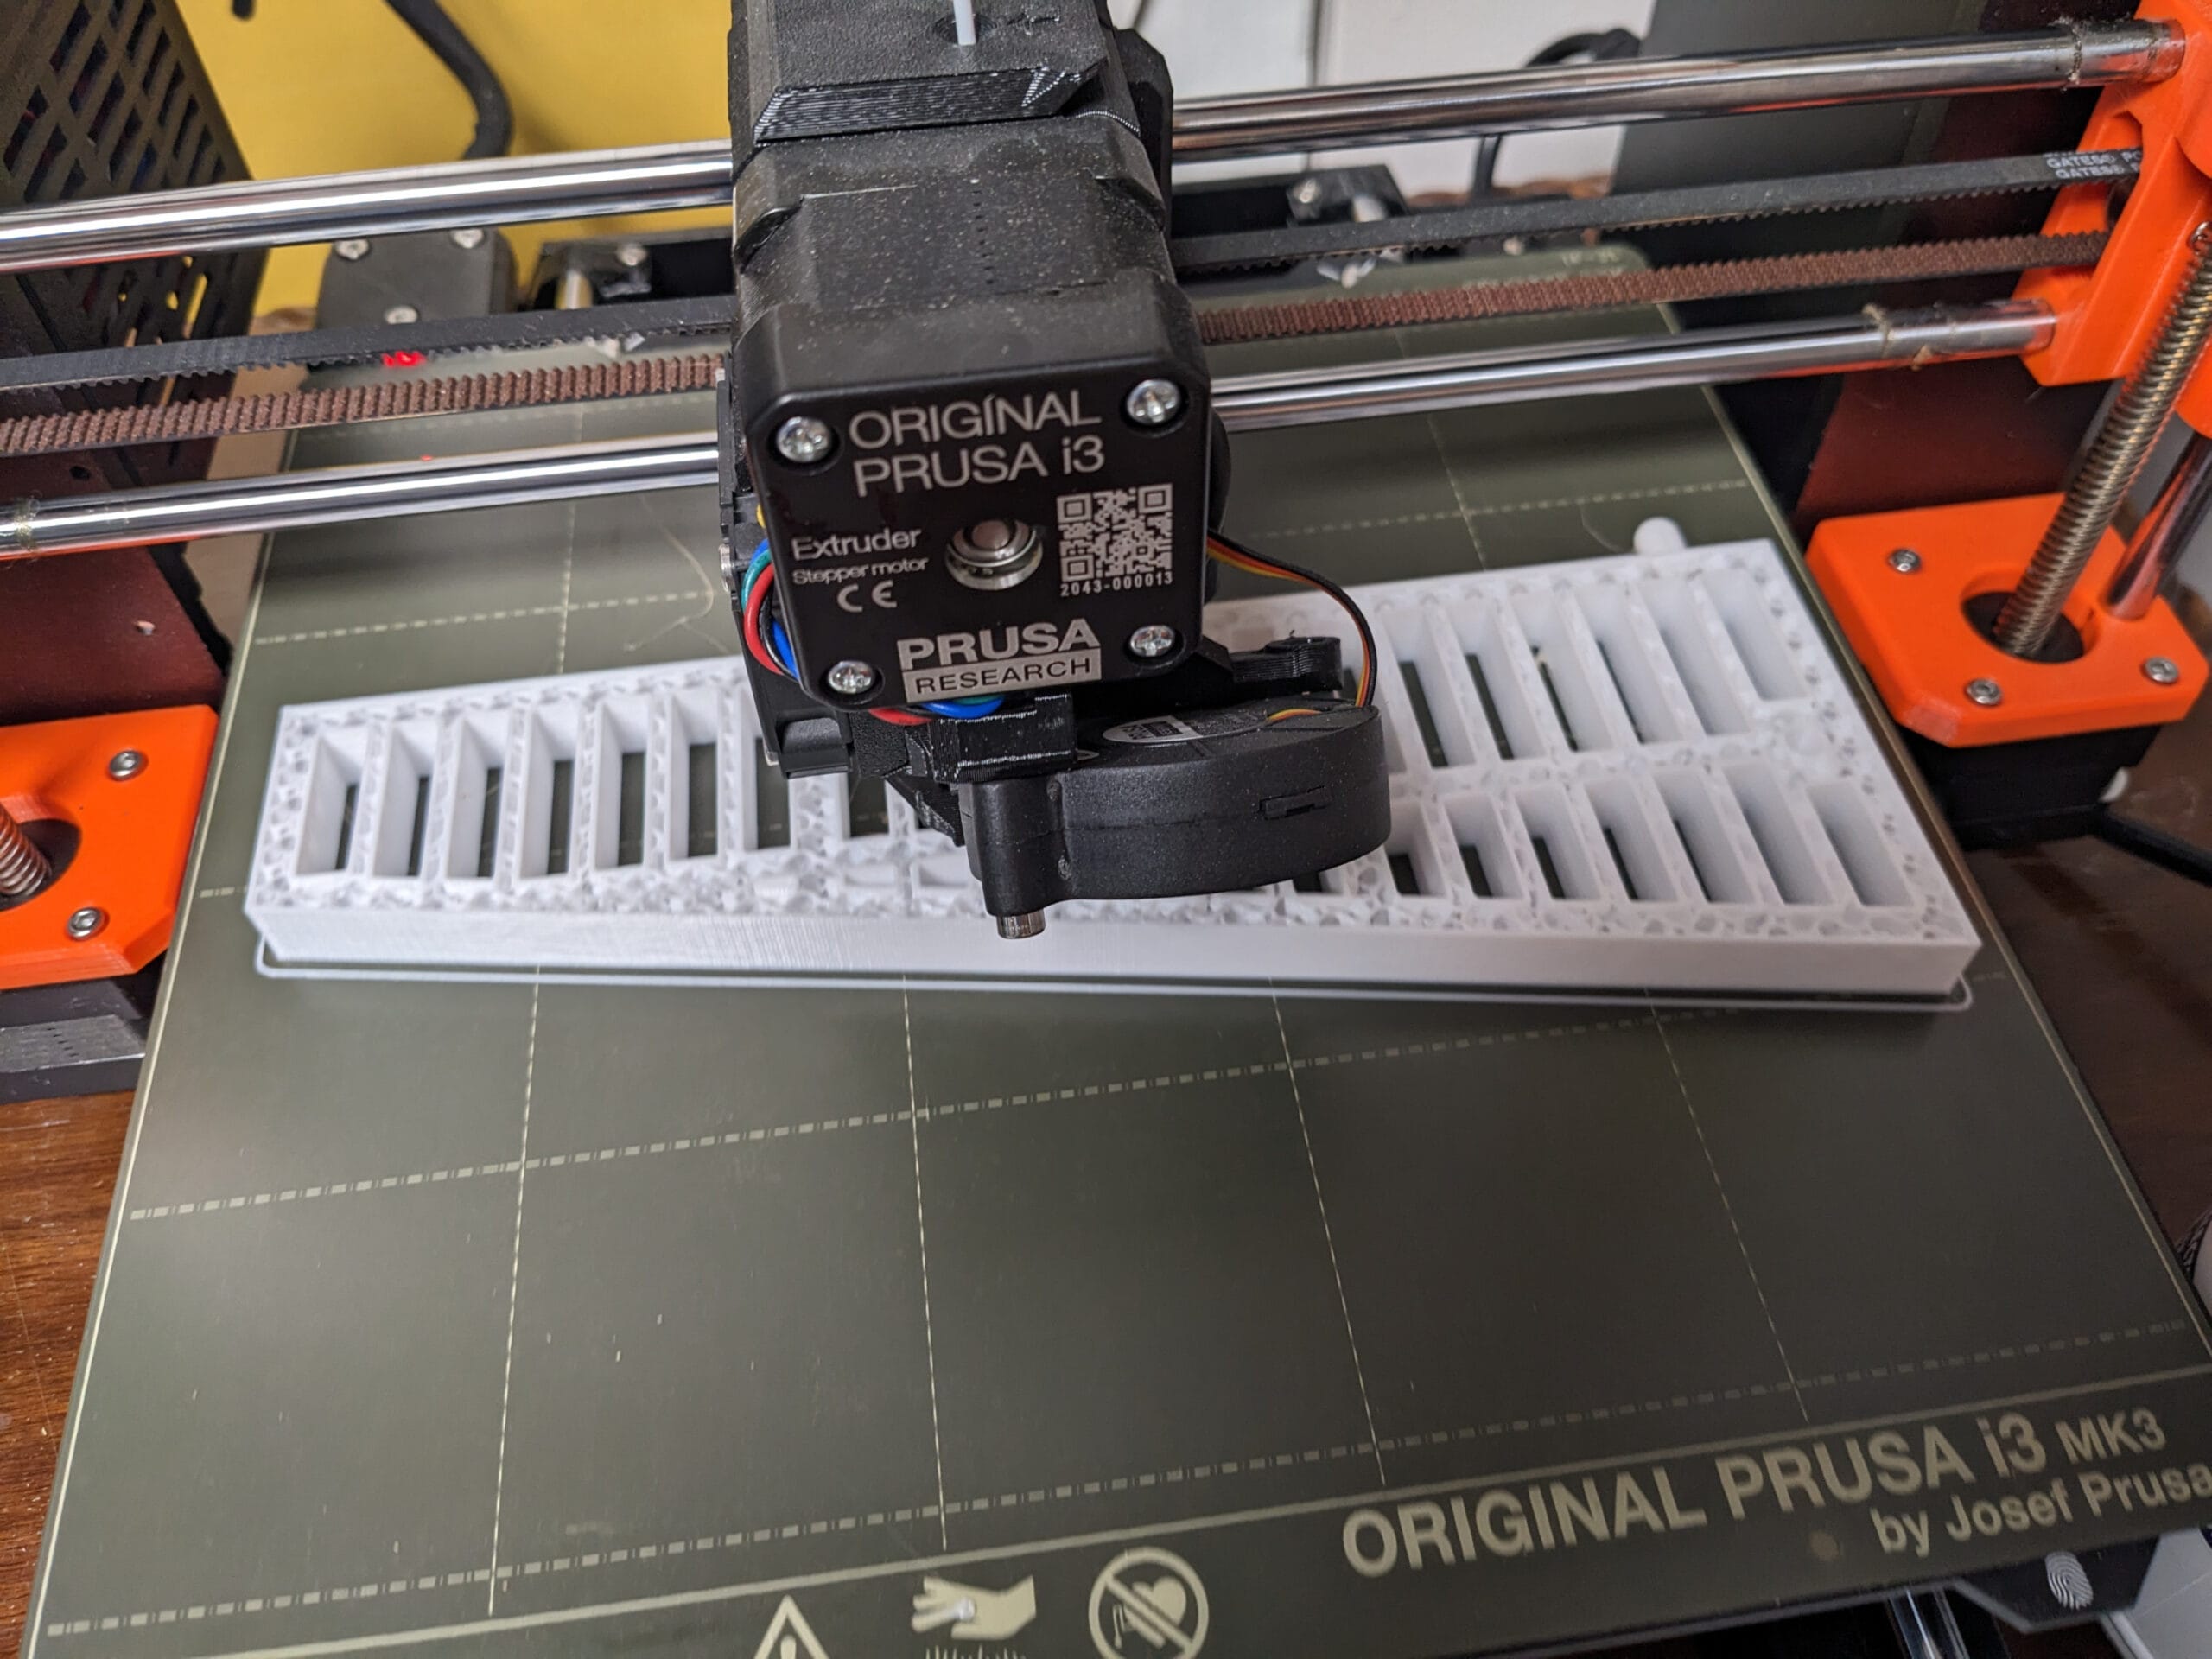
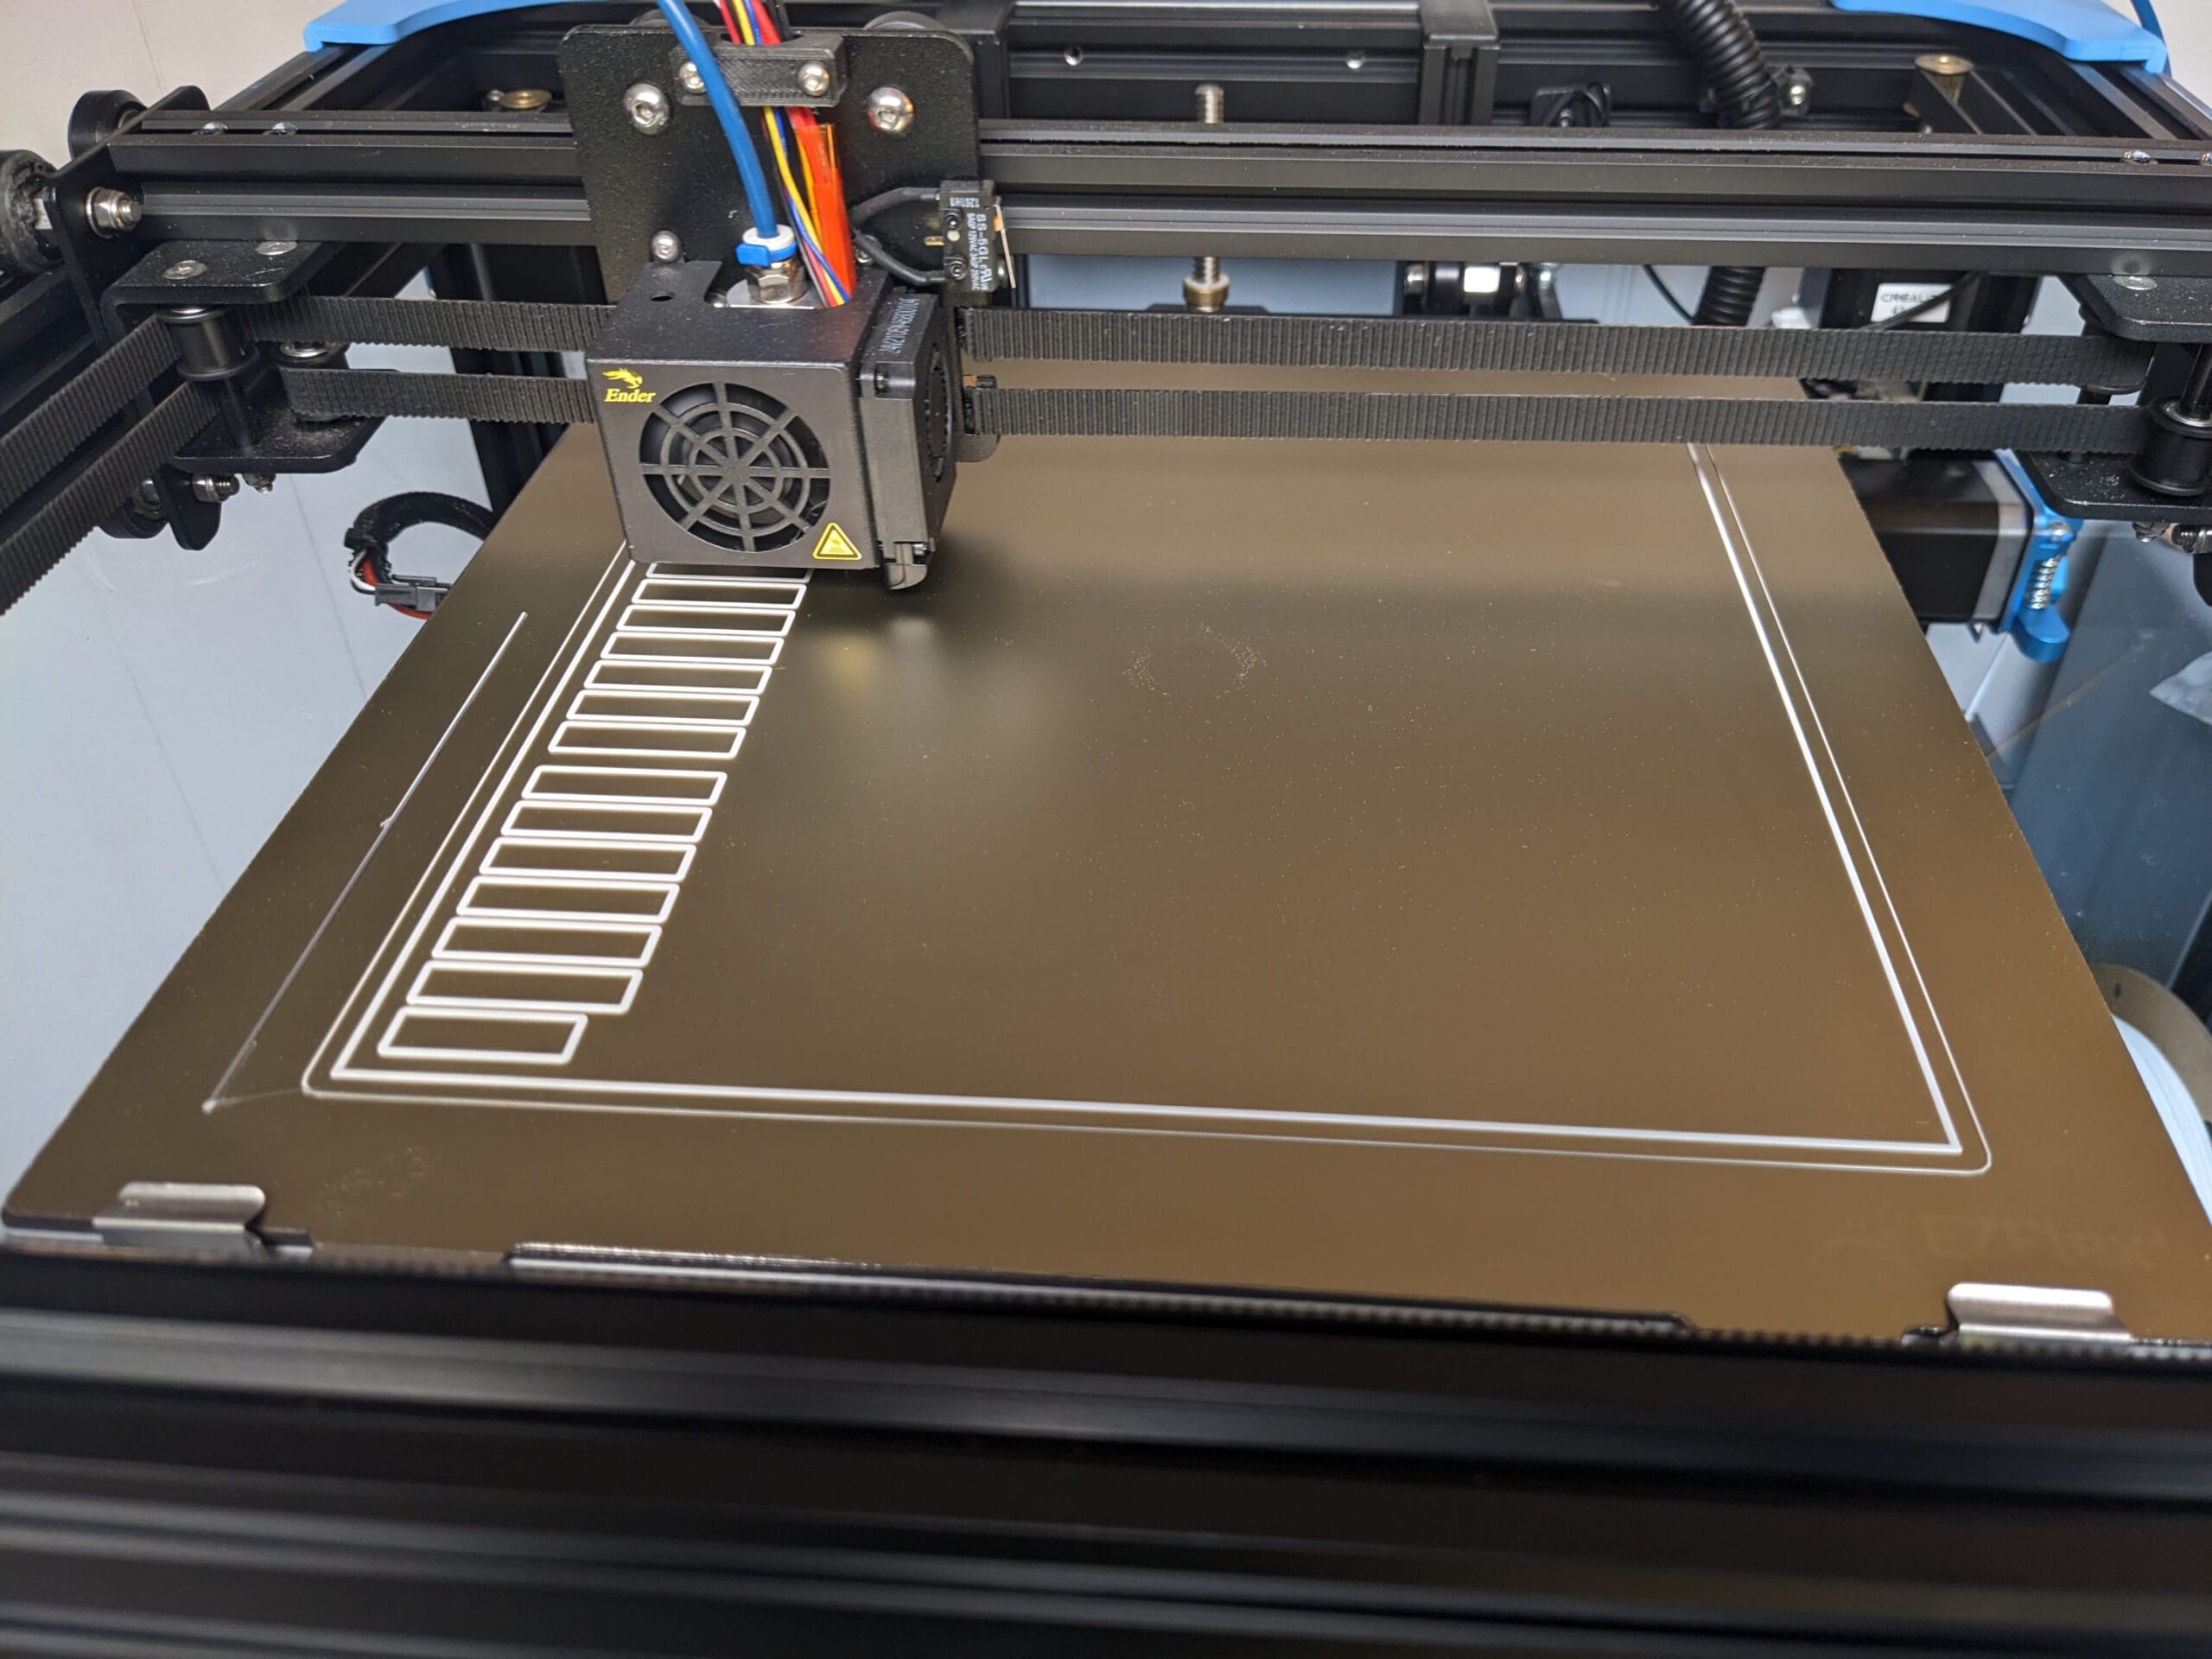
This is an angular 3D-printed grate in process (still printing).
This is an angular 3D-printed grate in process (still printing).
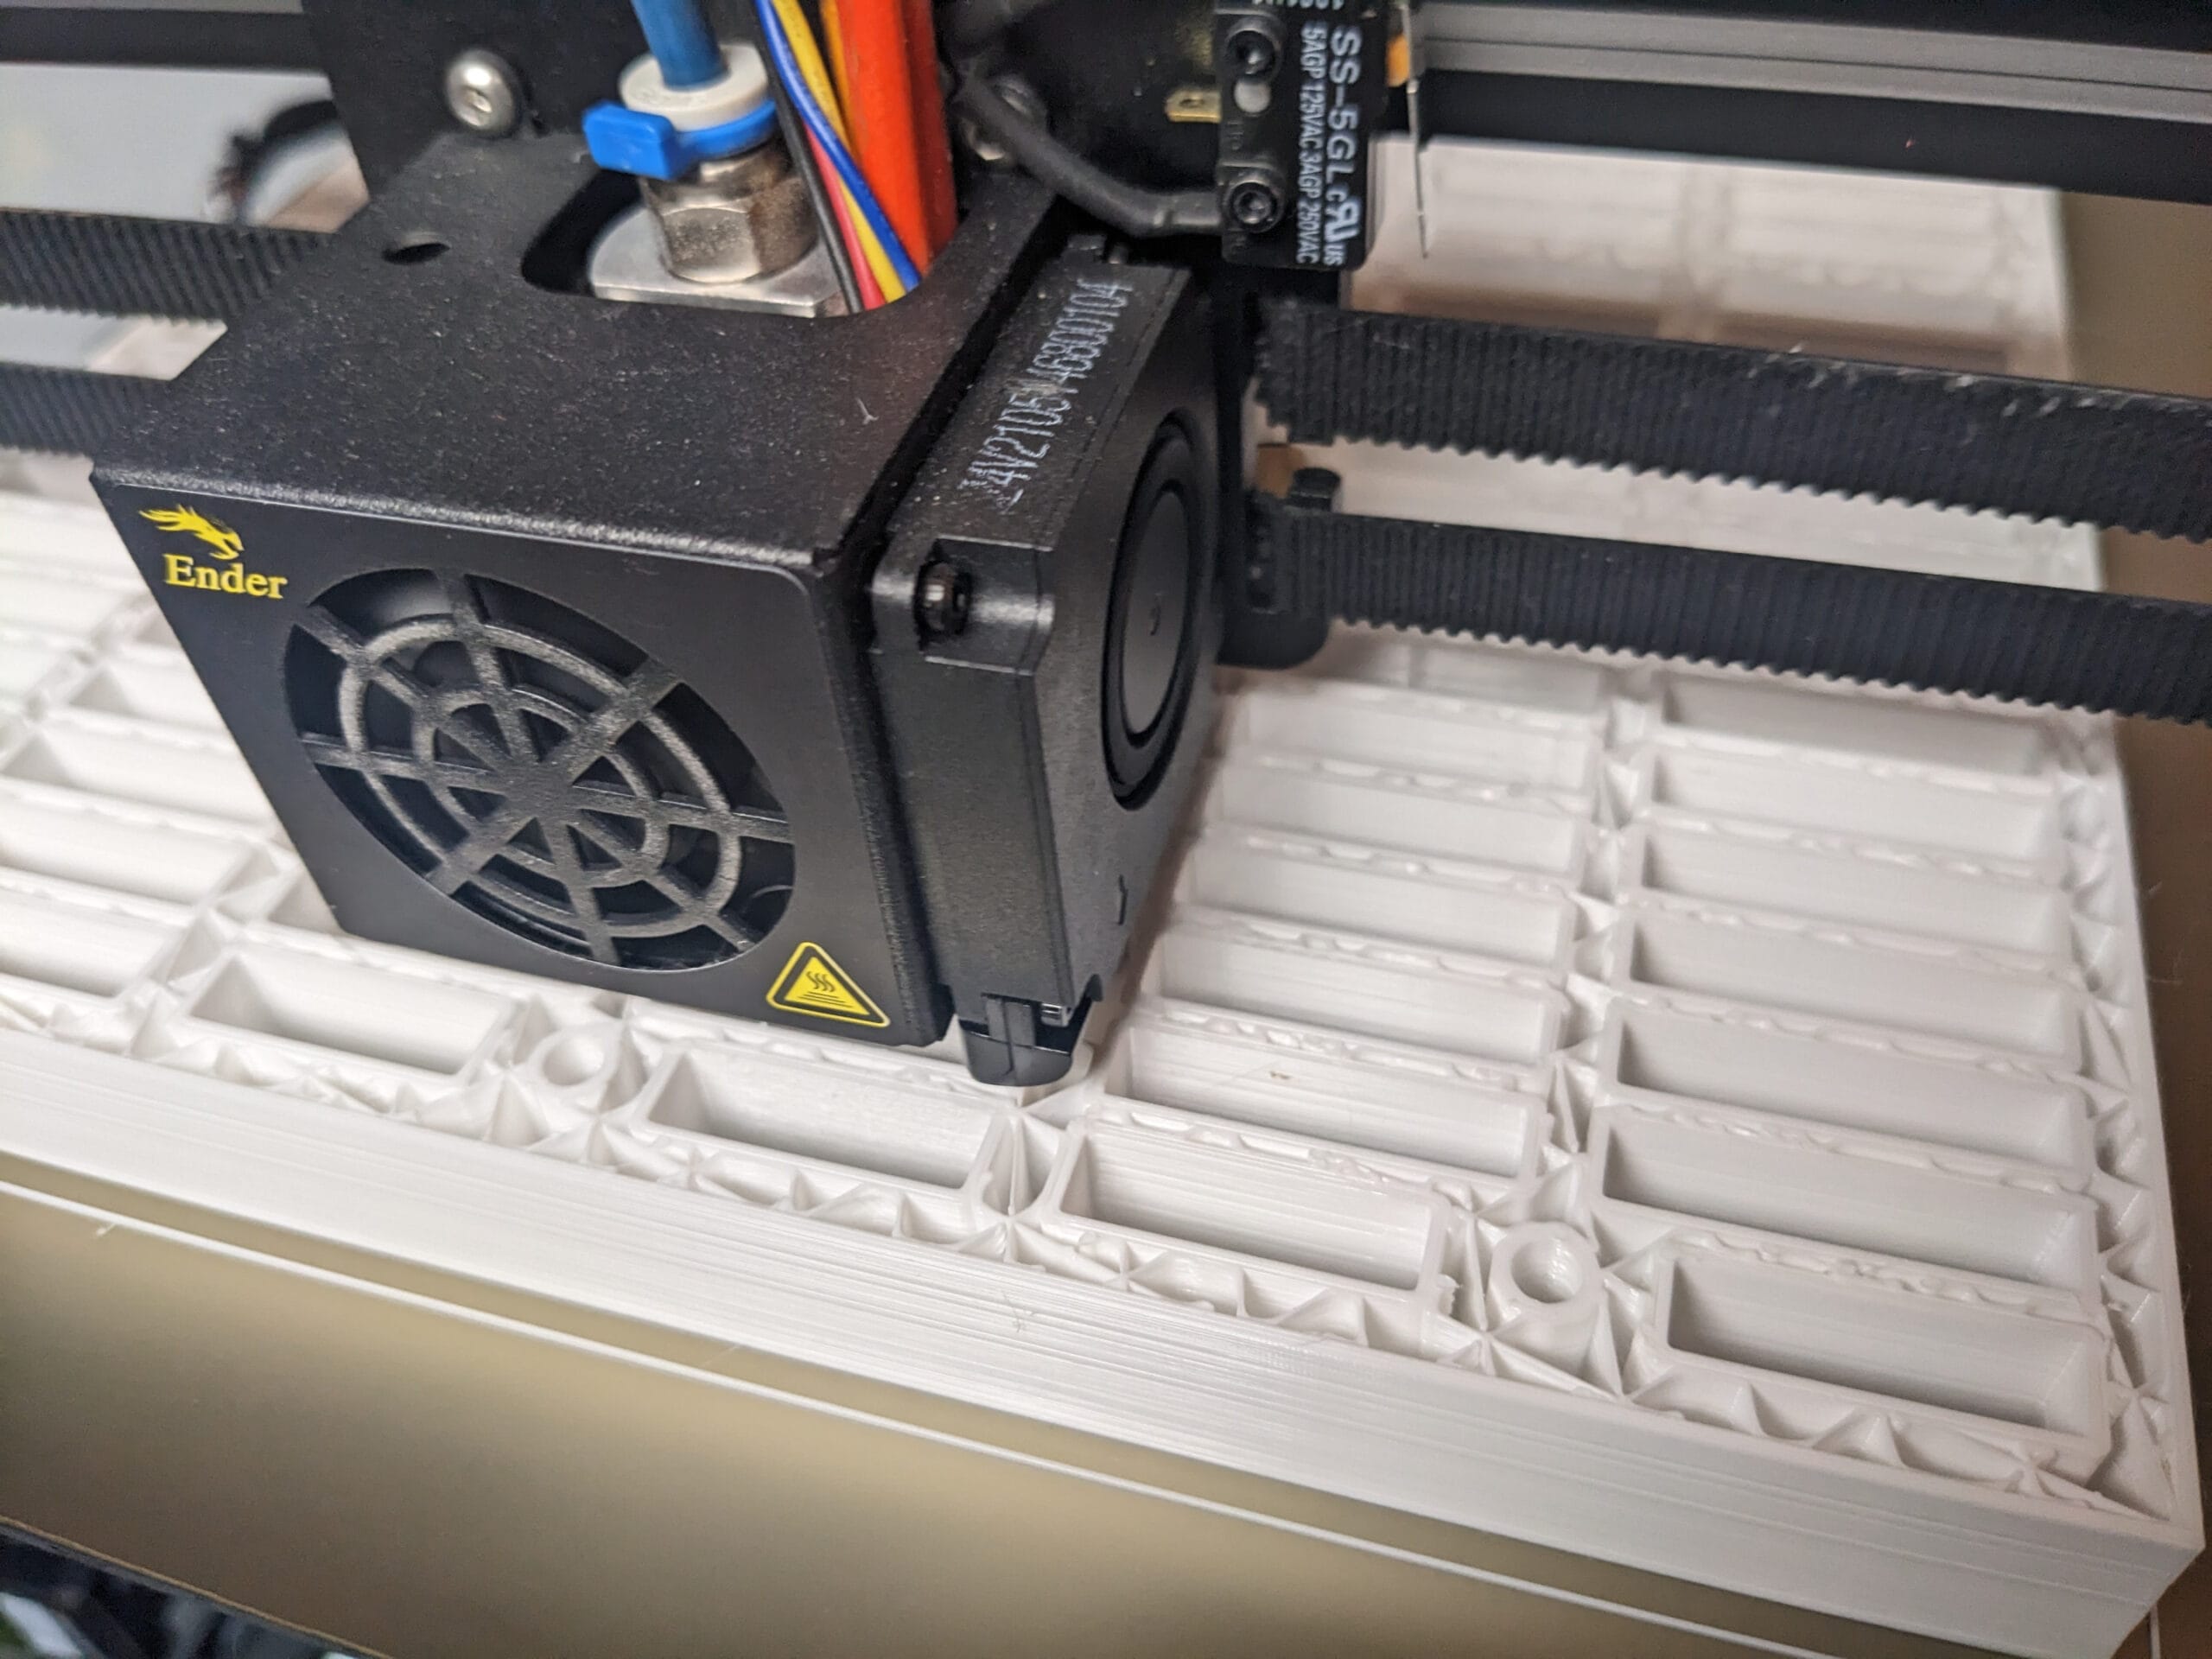
This is a full 3D-printed grate in process (still printing) on the larger 3D printer.
This is a full 3D-printed grate in process (still printing) on the larger 3D printer.
This is a view of the 3D-printed grate very early in the print (within the first minutes of the job). A full grate takes more than a day to print using the current 3D printers we have available.
This is a view of the 3D-printed grate very early in the print (within the first minutes of the job). A full grate takes more than a day to print using the current 3D printers we have available.
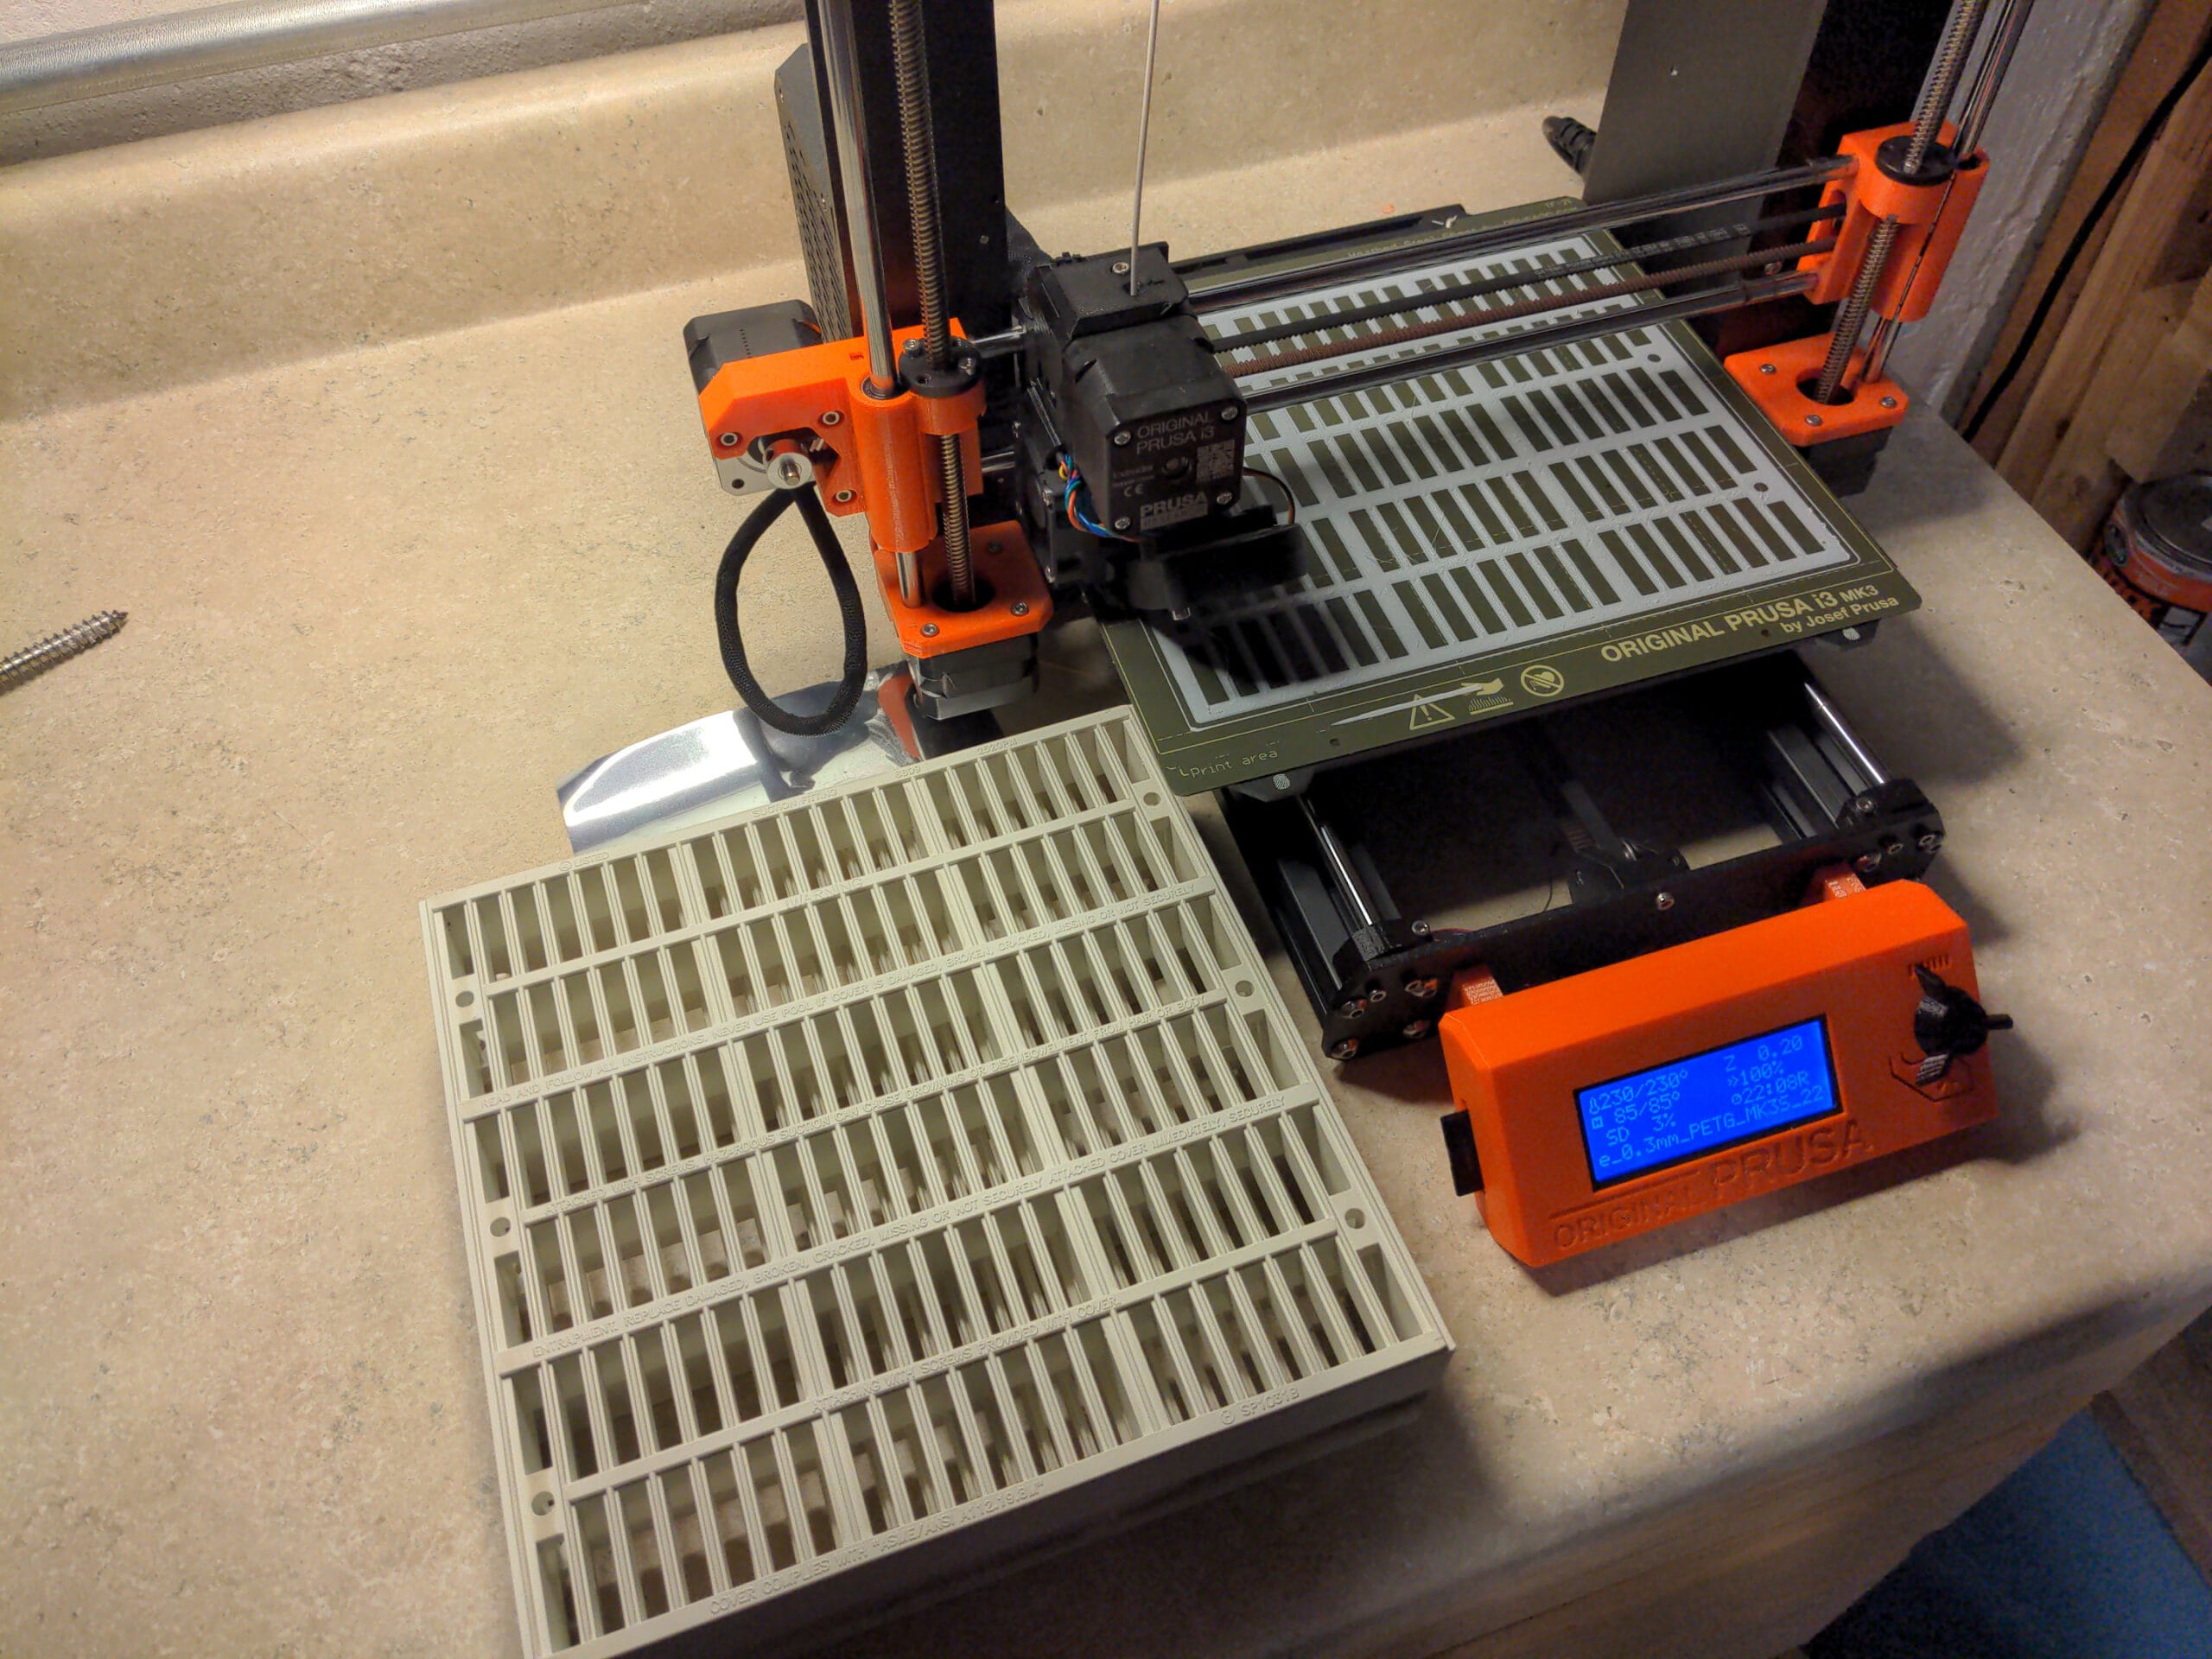
This is an early print on the smaller 3D printer (only capable of 5/6 size) with an original PVC grate (not 3D-printed) nearby for an example.
This is an early print on the smaller 3D printer (only capable of 5/6 size) with an original PVC grate (not 3D-printed) nearby for an example.
This is a complex topic – and likely one that’d bring far too much detail to this article. In a future article, we hope to dive deeper into the 3D-printed pool gutter grate saga.
Diving Board Stand
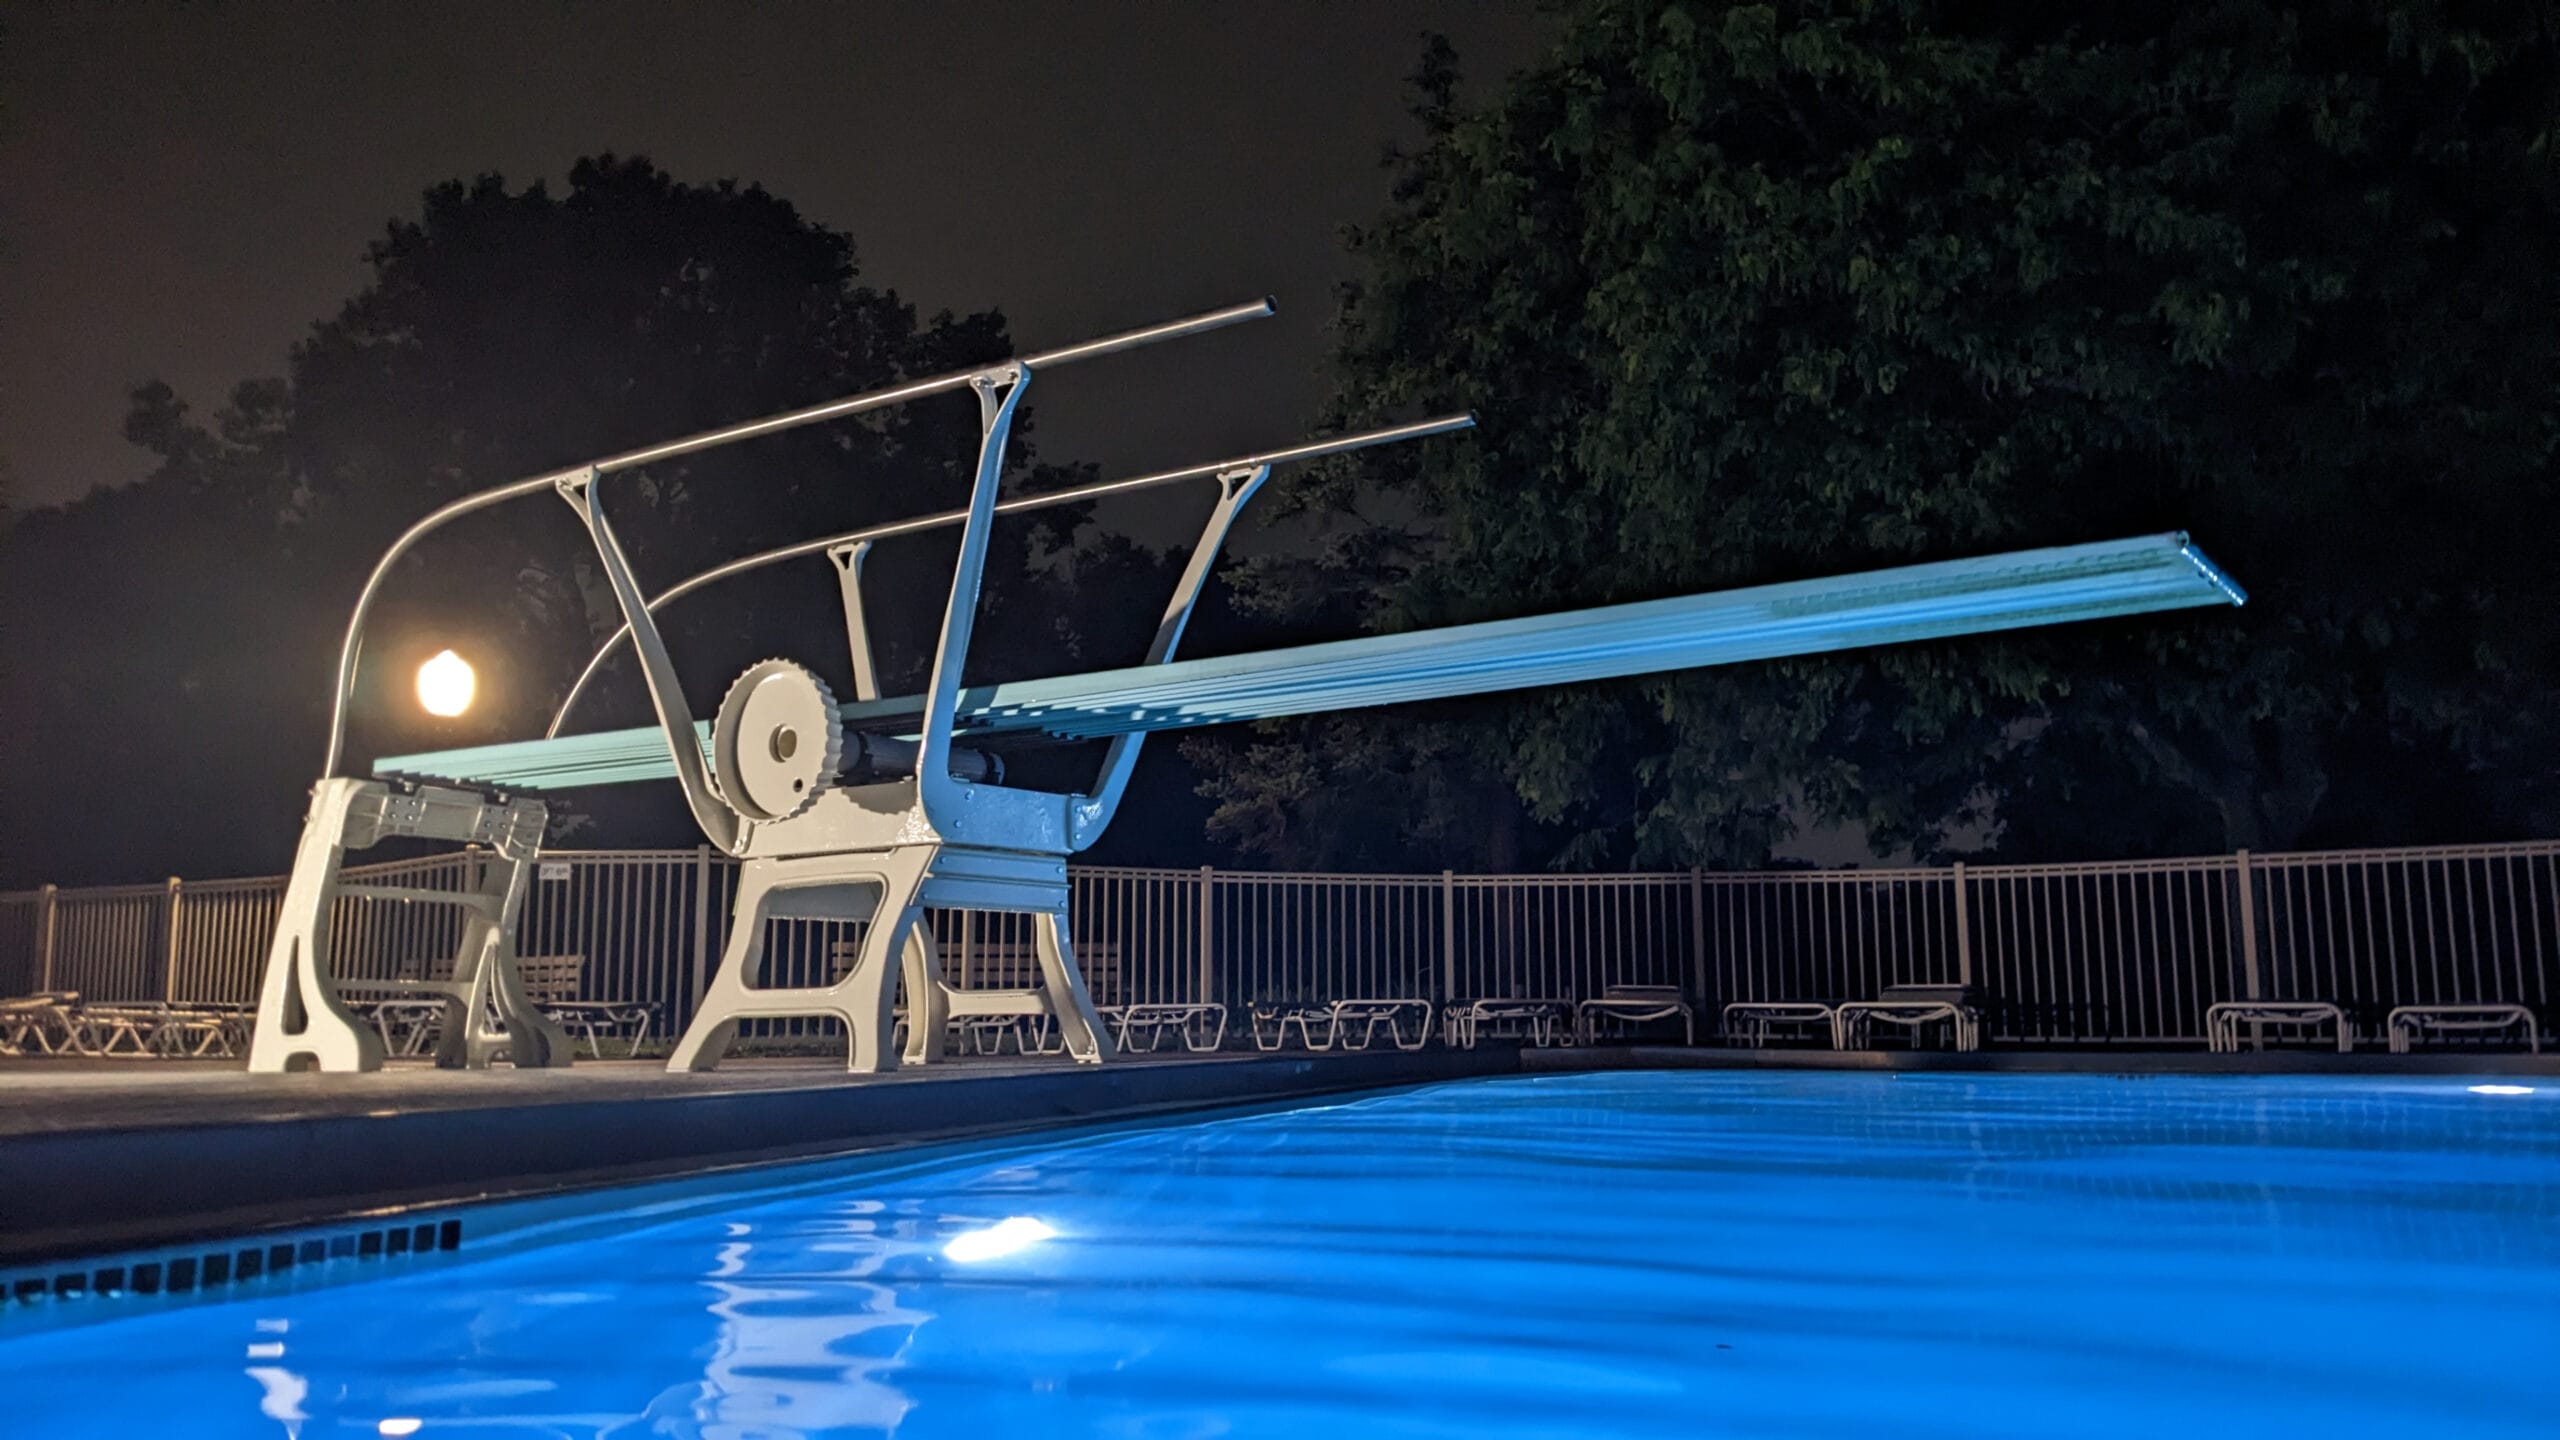
We know it was disappointing to start the 2023 season without a diving board – but we believe it was worth the wait. We sent the entire stand to a local sandblast and powder coat shop. As far as we can tell, this was the first time this had been done since the stand was installed (presumably in the late 60’s).
The stand arrived back to us well before opening, but it took much longer to source all the replacement hardware for re-assembly. While taking the stand apart for refinishing, we determined that most nuts and bolts needed replacing. Some of these parts were challenging to source as they’re made of aluminum (not stocked at your local big-box home improvement retailer or hardware store).
With a new concrete pad in place, we needed to install new mounting rods. Once in place, we painted all aluminum hardware with color-matched touch-up paint to protect the metal from exposure to the pool water.
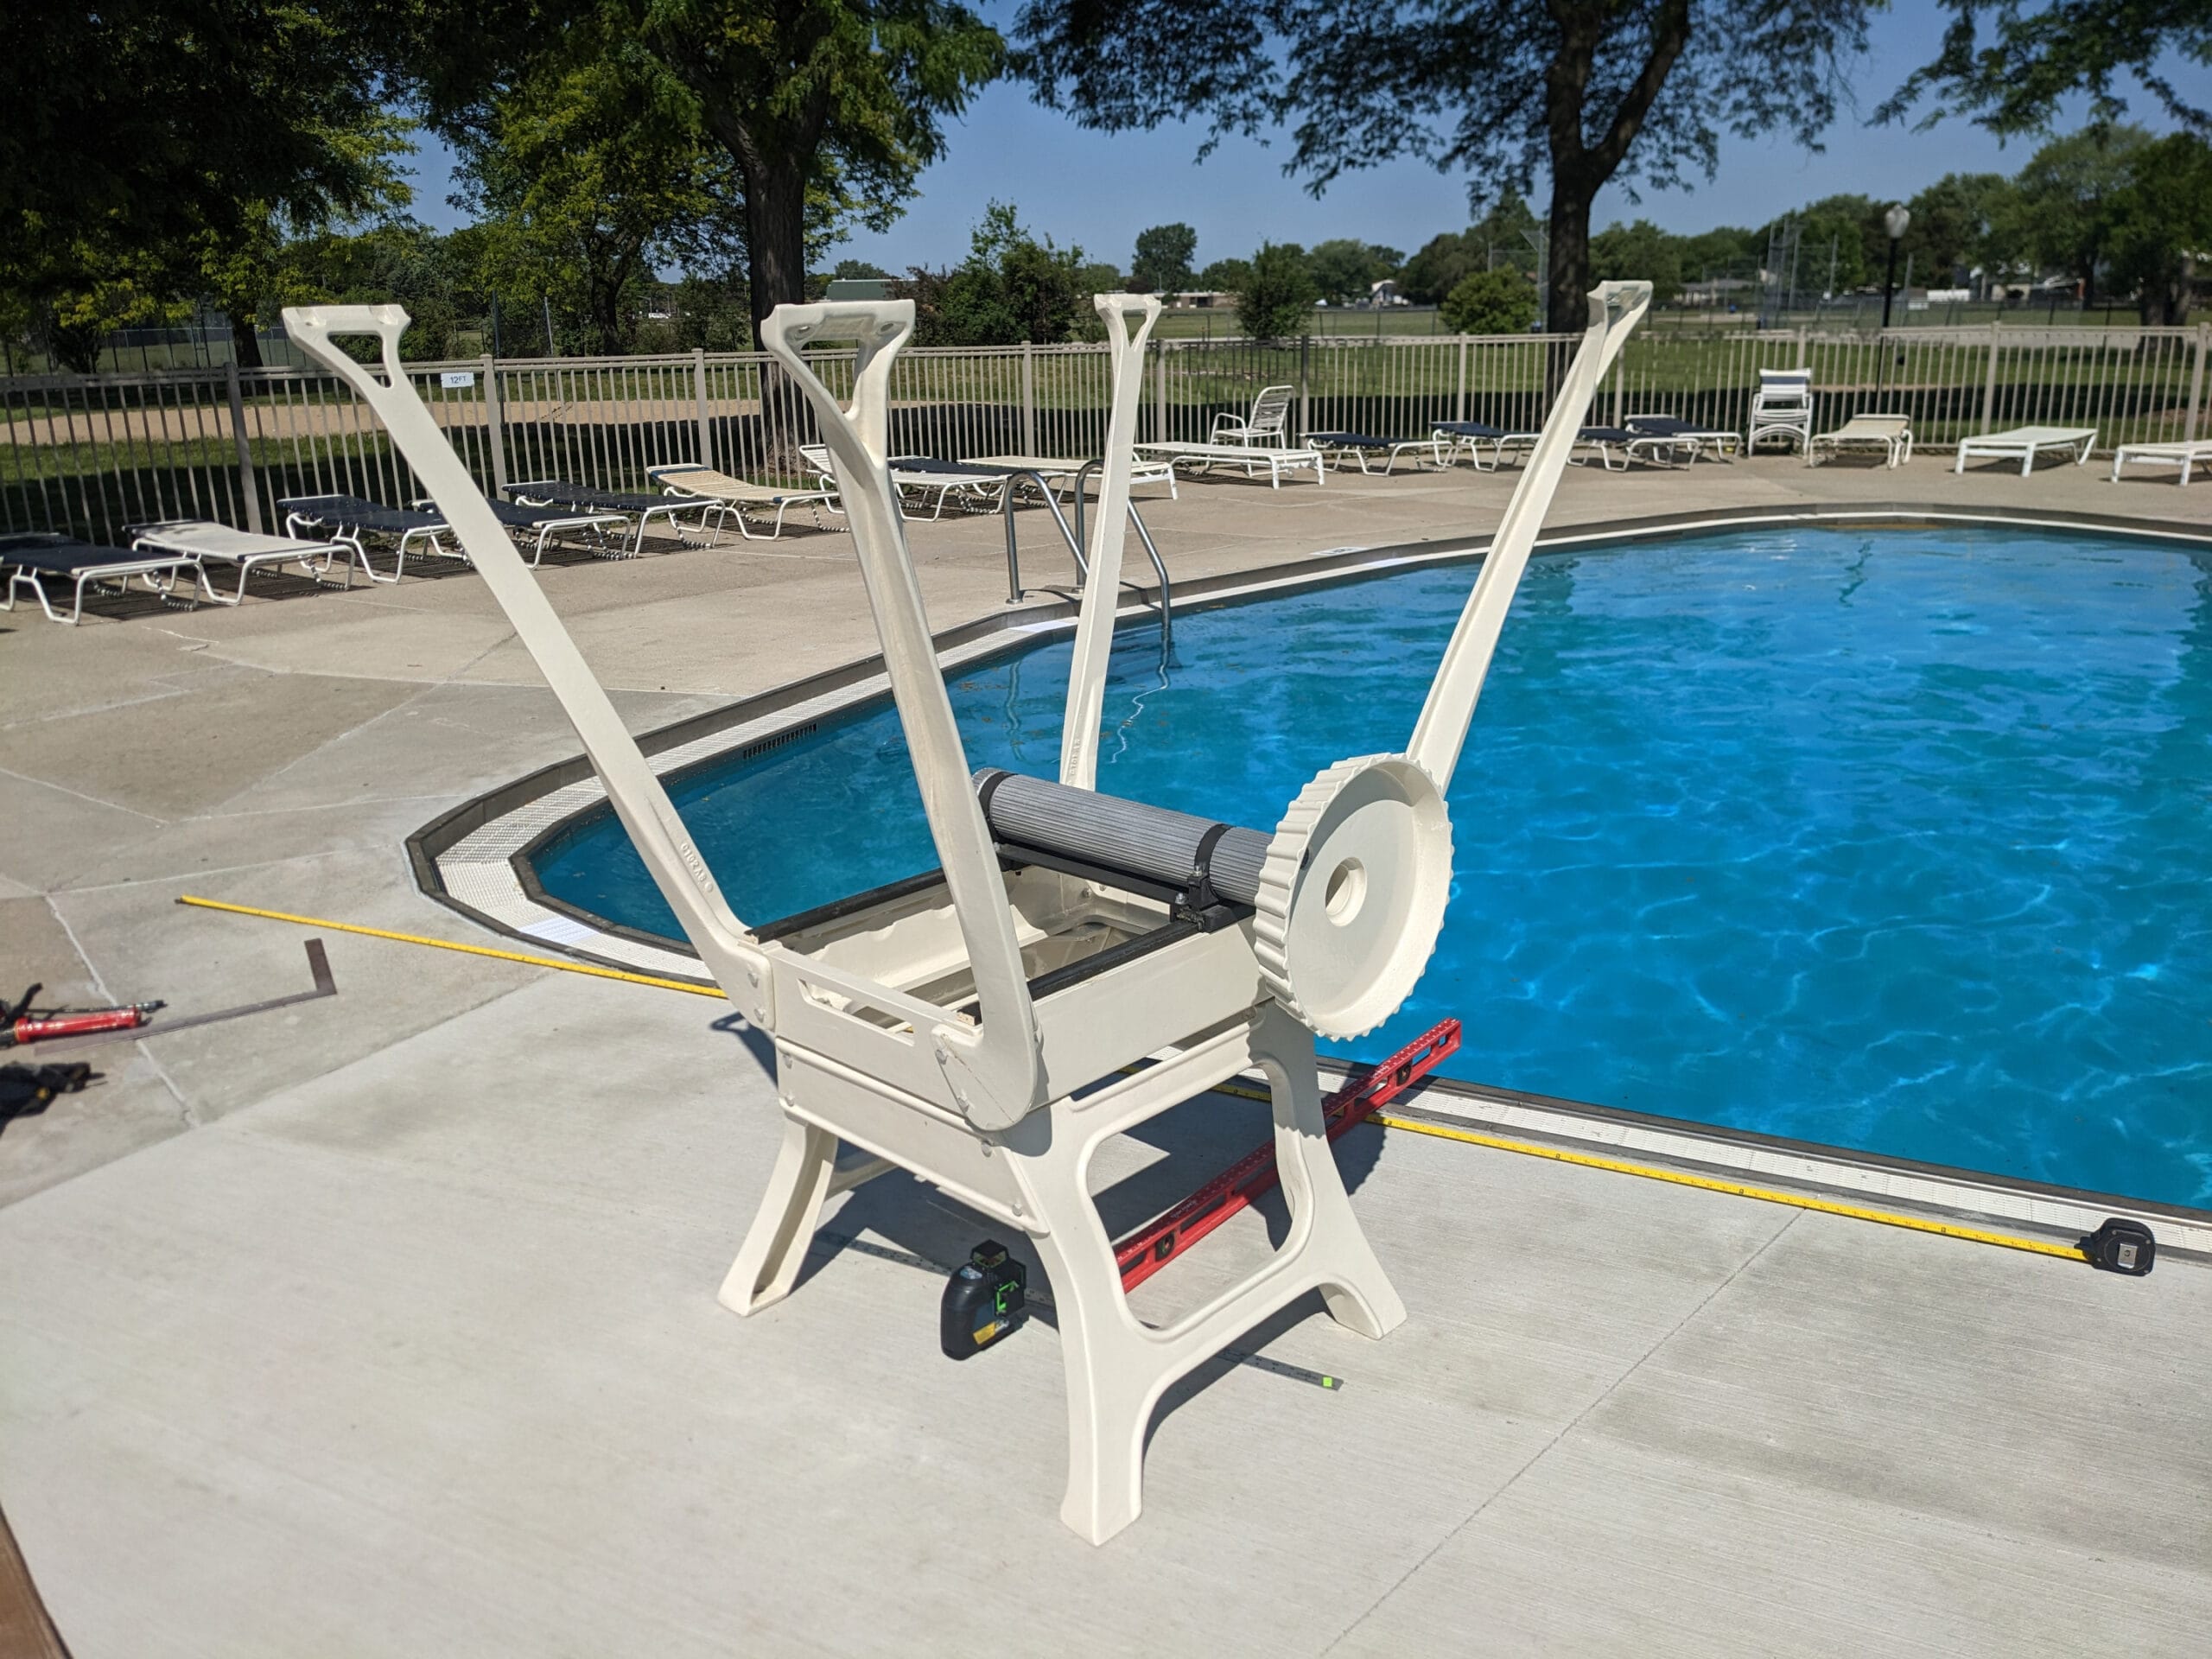
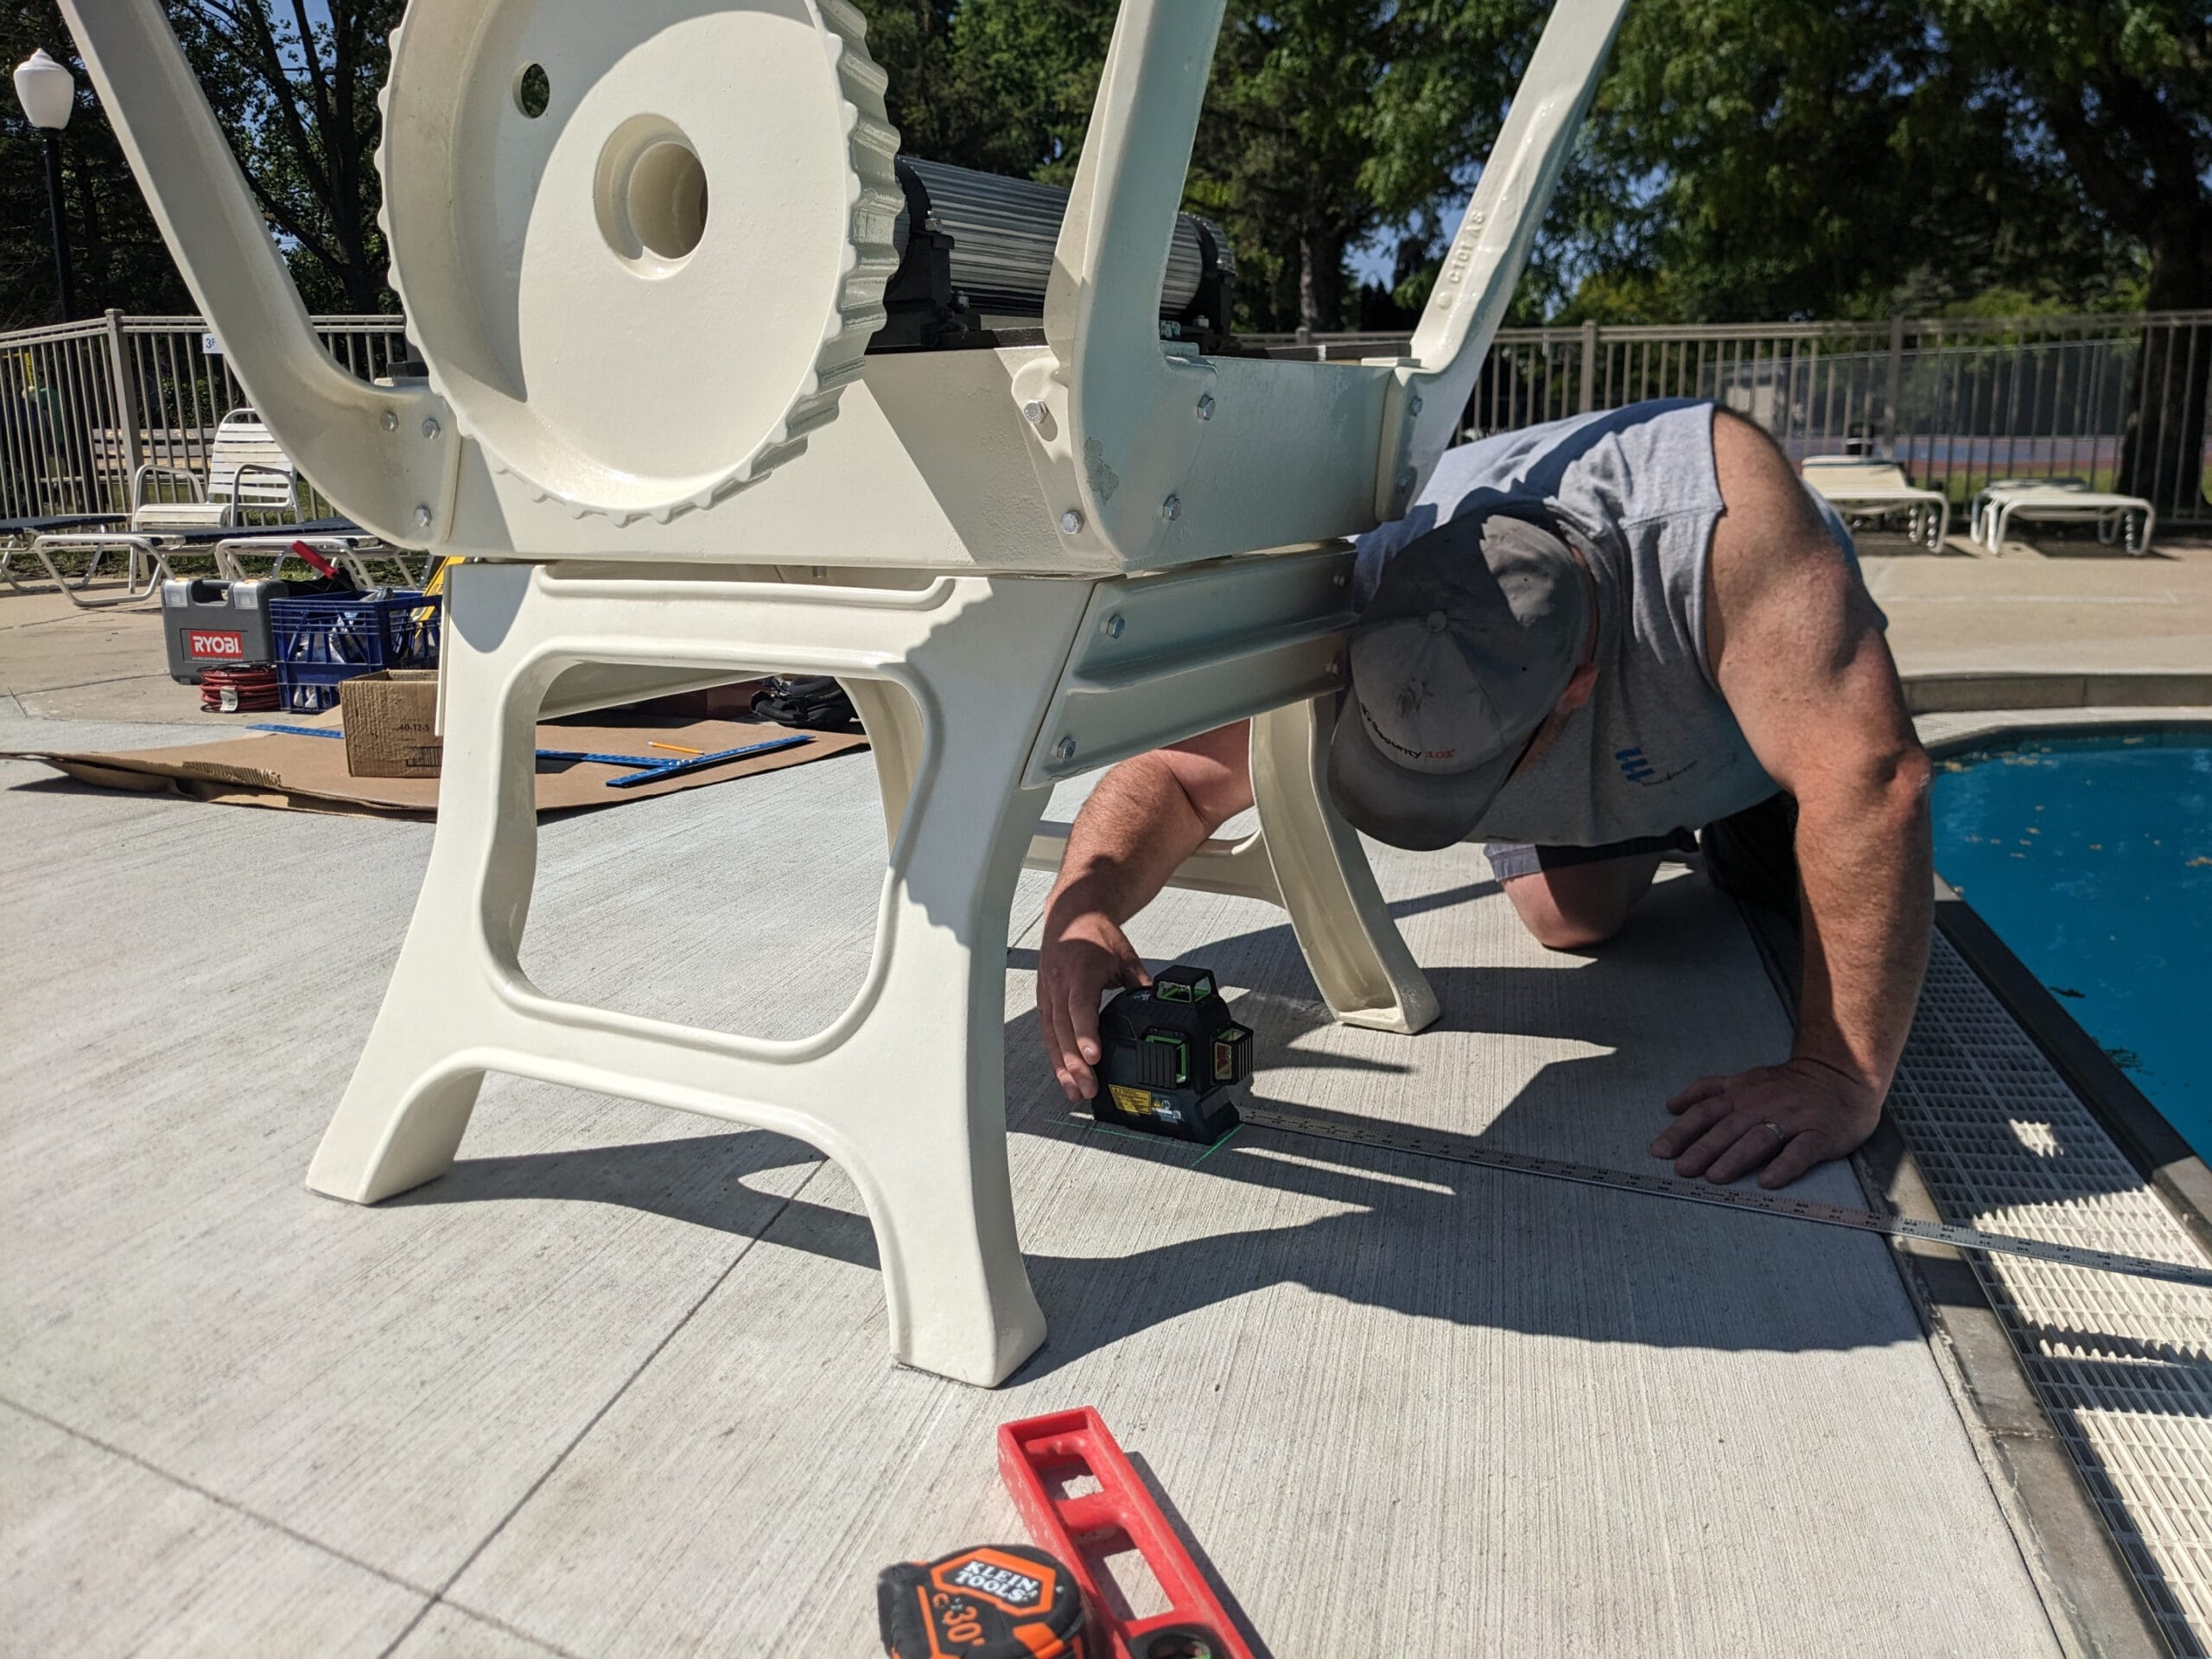
Measurements being made to install the refurbished diving board stand onto the new concrete pad.
Measurements being made to install the refurbished diving board stand onto the new concrete pad.
Measurements being made to install the refurbished diving board stand onto the new concrete pad.
Measurements being made to install the refurbished diving board stand onto the new concrete pad.